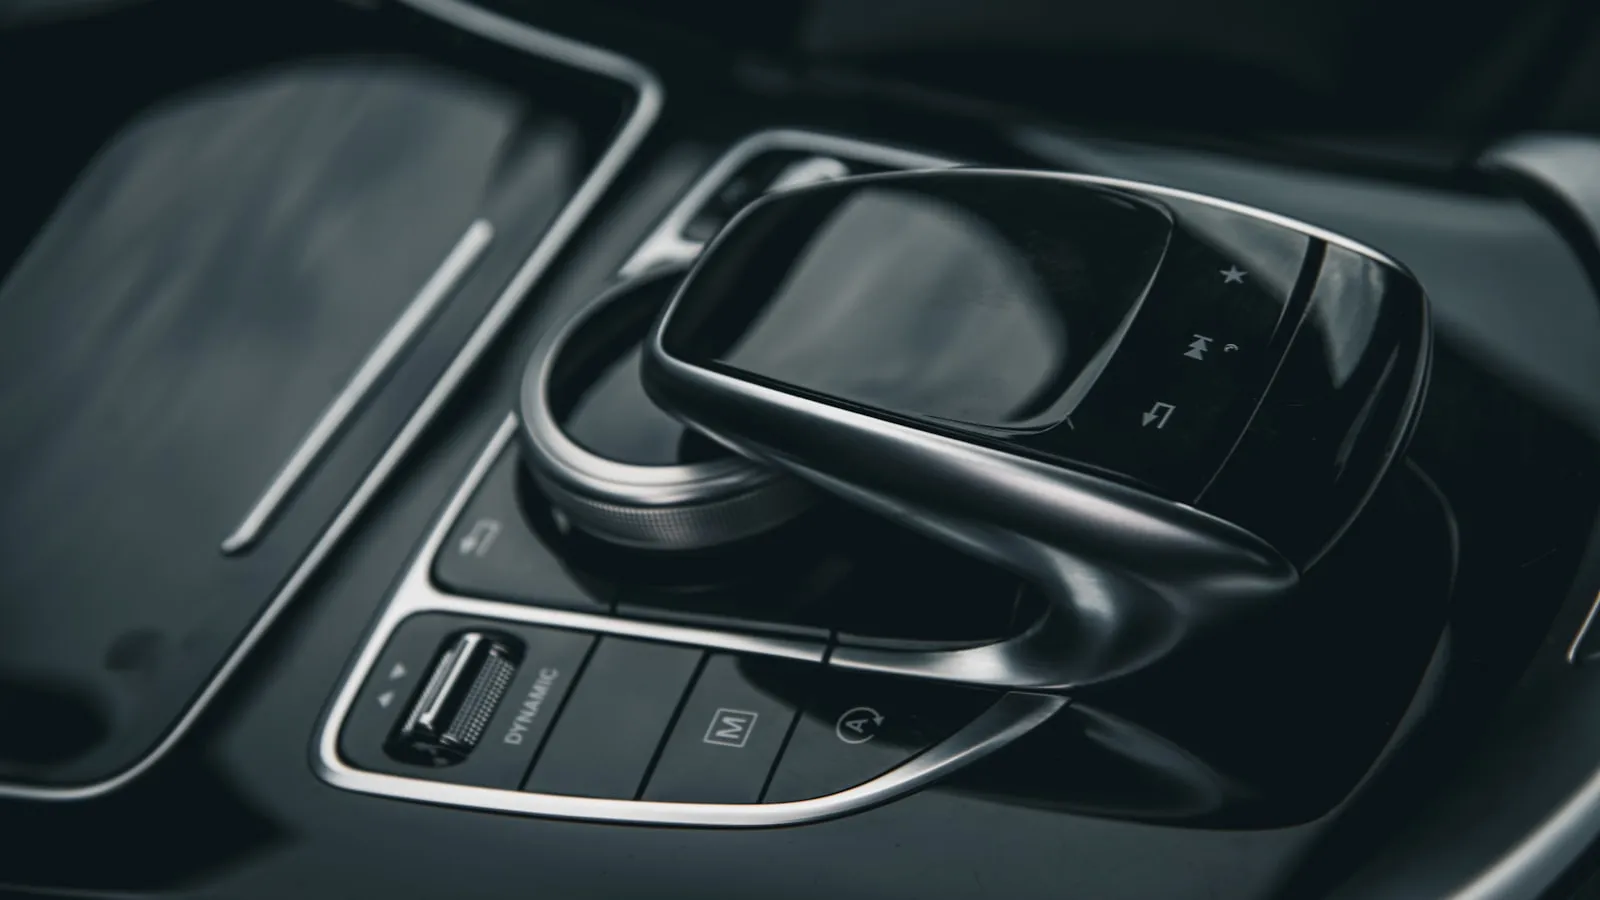
To retrain HomeLink, hold both outer visor buttons until the LED blinks fast to clear the channel, then hold the visor button and your original remote together until it blinks fast again — about two minutes. You’d do this after a new gate opener install, a car battery swap, or a vehicle trade-in. Every owner’s manual documents that sequence, but most describe only the first half.
For rolling-code openers, which cover most residential gate operators made after the mid-1990s, there is a second step at the motor unit. Without it, HomeLink stores the signal but the opener never accepts it. The LED flashes “trained.” The gate stays closed.
What you need
- The original remote for the gate or garage opener
- Physical access to the opener motor unit (you will need to press a button on it)
- Two minutes, with the car parked close enough to walk to the opener
How HomeLink learns a signal
To understand why some openers need an extra step, it helps to know what HomeLink actually does. It records an RF signal from the original remote and rebroadcasts that signal each time you press the visor button. How HomeLink actually works covers the full mechanism, but the short version is this:
Fixed-code openers send the same code on every press. HomeLink learns that code in one step and can replay it indefinitely.
Rolling-code openers generate a new code after every activation and keep the remote and receiver in sync. HomeLink can record the initial transmission, but the opener will not respond until it has confirmed that HomeLink is the legitimate trained remote — which happens through the LEARN button on the motor unit. The HomeLink rolling-code programming guide covers the underlying mechanism in more detail.
Step 1: Locate the HomeLink buttons
HomeLink buttons are usually built into the sun visor, the overhead console, or the rearview mirror housing. Look for two or three small buttons marked with a gate or garage icon. Each button is an independent, separately programmable channel.
Step 2: Clear the channel you want to reprogram
Hold the two outer HomeLink buttons simultaneously. After roughly 20 seconds, the LED changes from a slow blink to a rapid blink. Release both buttons. This erases all three stored channels.
If you want to clear only one channel while keeping the others intact, check the vehicle owner’s manual — the single-channel erase method varies by make and model year.
Step 3: Two-button initial pairing
Sit in the driver’s seat with the car stationary. Hold the HomeLink visor button you want to program in one hand and the original opener remote in the other. Bring the remote within two inches of the visor button. Press and hold both simultaneously.
- LED blinks slowly → still acquiring
- LED blinks rapidly → initial credential recorded
Release both buttons at the rapid flash. If you have a fixed-code opener, the re-train is complete. Test the HomeLink button — the gate or door should activate.
If you have a rolling-code opener, the rapid flash is a midpoint, not a finish.
Step 4: The LEARN button press — what most guides skip
Walk to the opener motor unit. It will be mounted on a post, wall bracket, or overhead rail near the gate or garage door. Find the LEARN button — a small, colored push button on the back or side of the motor housing, sometimes behind a flip cover or labeled panel.
Press the LEARN button once and release it. The opener is now listening for its newly trained remote for roughly 30 seconds.
Return to the car and press the trained HomeLink channel button once. The gate or door should activate — a brief cycle or a short movement — to confirm that the rolling-code sync completed.
LiftMaster and Chamberlain note: If the LEARN button is purple, the opener uses Security+ 2.0, a protocol that requires an additional interface module to pair with HomeLink. Standard retraining will not complete. The Security+ 2.0 vs Security+ guide covers that specific workflow.
Step 5: Test from approach distance
Move the car to the street or the far end of the driveway. Press the HomeLink button from there. A complete re-train should work reliably from 50 feet or more under normal conditions. If it only fires within a few car lengths, check the antenna on the motor unit — it should hang straight down, unobstructed.
When it still won’t pair
Remote battery. The original remote needs enough charge during the LEARN window for the opener to register the transmission. If the remote has been unreliable, replace the battery before attempting the re-train.
30-second window expired. The LEARN button listen window closes after about 30 seconds. If the walk back to the car takes too long, press LEARN again and repeat Step 4.
Proximity during Step 3. The remote needs to be close — two inches or less — during the initial two-button hold. A few extra inches can result in a weak credential that appears paired but fails at normal operating range.
Antenna misalignment. The antenna wire hanging from the motor unit amplifies incoming signals. If it is coiled, kinked, or pressed against a metal surface, effective range drops. Let it hang straight down and free.
If range keeps degrading after a clean re-train, the HomeLink range troubleshooting guide has a full checklist.
The category that removes the re-train entirely
For most driveways, a HomeLink re-train is a low-frequency maintenance task. For properties where the pattern recurs — opener replaced, second car added, battery reset wiping credentials — there is a different design premise worth knowing about.
Vehicle-paired auto-open systems authenticate through GPS proximity rather than an RF code match. There is no visor button to retrain and no LEARN window to race. The gate opens because the controller recognizes the car’s position, not because it matched a transmitted code. getproxly.com/beta is one option in that category, currently in pre-launch. It represents a different approach to the problem rather than a direct HomeLink replacement.
Frequently asked questions
- On many vehicles, yes. HomeLink stores credentials in the visor or mirror module, and a battery replacement or prolonged disconnect can wipe that storage — the exact behavior varies by make, model, and year. The re-train procedure is the fix; it takes about two minutes once you have the original remote.
- Yes. Each of the three HomeLink buttons is an independent programmable channel. Follow the same pairing sequence — including the LEARN button step for rolling-code openers — for each channel separately. Clear individual channels per your vehicle owner's manual to avoid wiping working channels.
- This is the clearest sign of a skipped LEARN button step. HomeLink shows 'trained' after the two-button hold, but rolling-code openers need a second sync from the motor unit. Press and release the LEARN button on the opener, return to the car within 30 seconds, and press the HomeLink channel.
- Yes — openers without a LEARN button use fixed code. The two-button simultaneous hold is the complete procedure. If it still won't pair, the issue is likely signal strength or a dead remote battery. Hold the original remote within one inch of the visor button during the initial training step.
Does HomeLink lose its programming when the car battery dies?
Can I program all three HomeLink buttons to different gates or doors?
The LED flashes rapidly but the gate still does not move. What is happening?
My opener has no LEARN button. Can I still pair it with HomeLink?
Keep reading

Infiniti QX60 and QX80 HomeLink: Programming a Driveway Gate
Infiniti QX60 and QX80 have three HomeLink buttons in the overhead console. For a driveway gate, you need a two-step process: train from the remote, then sync rolling code at the LEARN button.
How to Pair HomeLink to a CAME Gate Opener
CAME gate openers use 433.92 MHz and their own rolling code. Here is how to pair HomeLink — and why the receiver's LEARN button is the step most guides skip.
Which Cars Have HomeLink? A Make-by-Make Reference for 2026
HomeLink availability depends more on trim than model. This reference lists which cars include it factory-fitted in 2026, and what to do if yours doesn't.