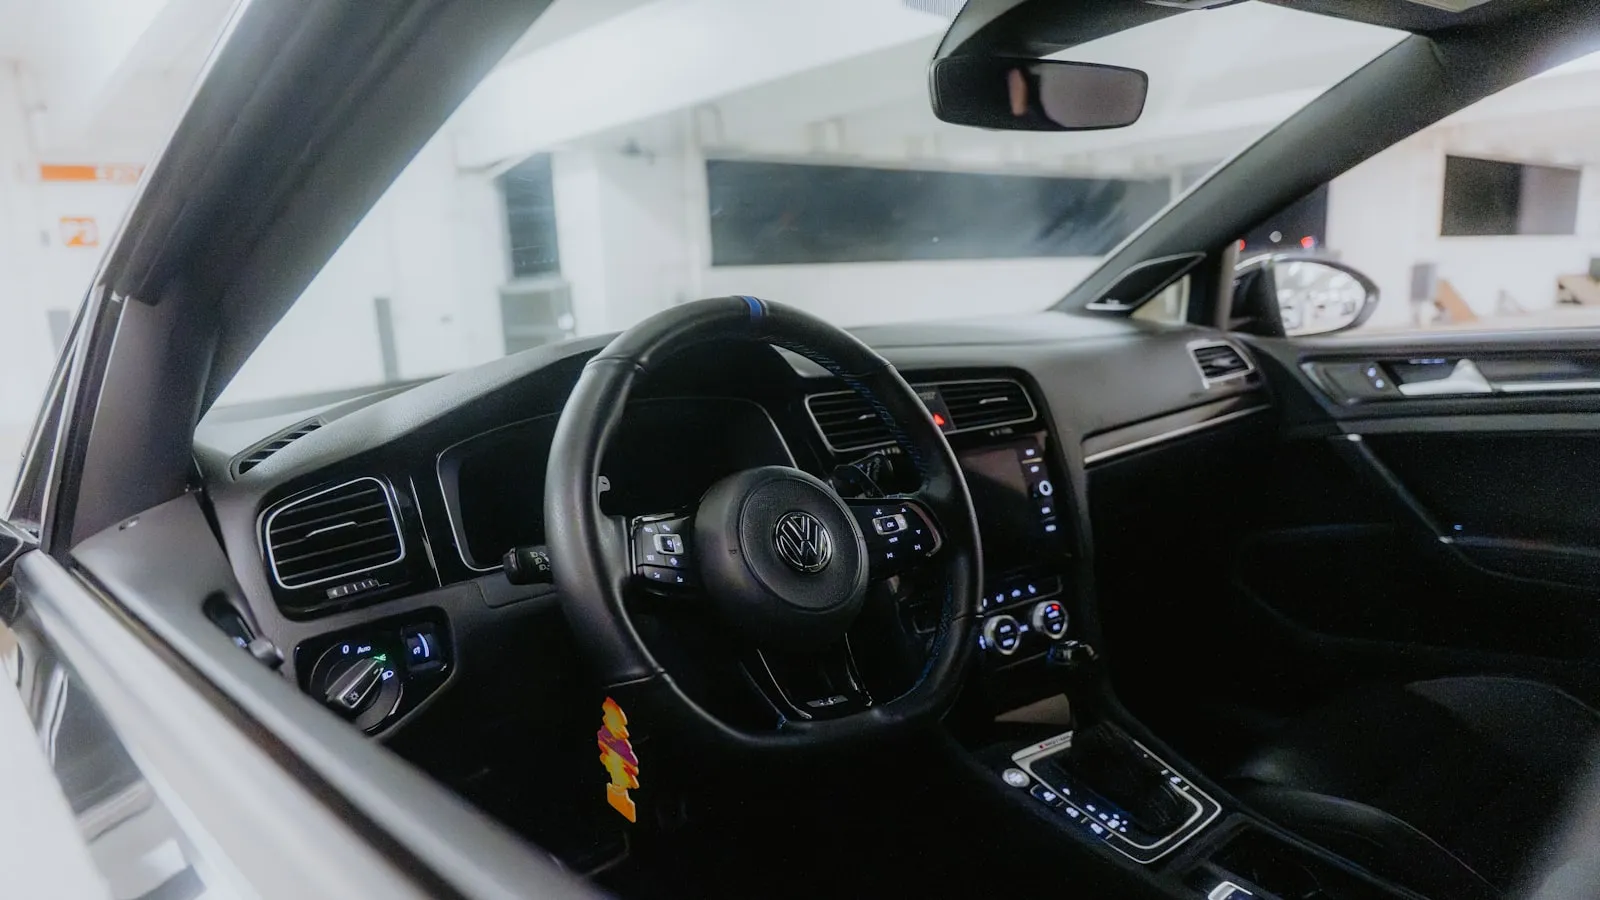
A HomeLink button that looks like it’s blinking red is almost always showing an amber LED, and the blink pattern — not the color — is what tells you where you are in programming. Under the overhead cabin light or through tinted plastic housing, that single amber indicator reads as orange, reddish, even brownish. The name doesn’t much matter. What matters is what the blink pattern is telling you.
Every state that HomeLink’s LED shows maps to a specific position in the programming sequence. Each state has a specific resolution. Working through them in order gets you from “it blinks and nothing happens” to “the door opens without thinking about it.”
The five LED states HomeLink shows
HomeLink uses a single indicator LED to communicate its full status. Here are the five states you’ll encounter.
| LED state | What it means |
|---|---|
| No blink when button is pressed | Channel is empty — nothing trained to it yet |
| Slow, steady blink while holding button + remote | Receiving the remote’s signal during training |
| Rapid blink burst after training hold | Step 1 complete; rolling-code openers need Step 2 |
| Blinks when pressed, but opener doesn’t respond | Trained and transmitting, but opener isn’t authorizing |
| Brief glow when pressed, opener responds | Fully trained and working |
The last state is the target. Every other state is a waypoint.
The other indicator style: green and orange
Not every car uses the single amber LED described above. On many Hyundai, Kia, and other vehicles where HomeLink lives in the auto-dimming rear-view mirror rather than an overhead console, the indicator is green, and it uses color — not just blink rhythm — to tell you where you are:
- Solid orange — the button is empty, with no signal stored yet.
- Rapid green flash — a signal was captured, but it’s invalid or incompatible, so the door won’t respond. This is the tell that HomeLink learned the wrong thing, most often from a universal or knock-off remote, and needs to be cleared and retrained from a genuine one.
- Solid green — a signal is stored and confirmed good.
If you have solid green but the door still won’t move, suspect the remote used during training rather than HomeLink itself. The specific green-indicator sequence, including the OEM-remote rule that trips up so many owners, is in the Ioniq 5 and 6 HomeLink setup. Exact colors and behavior vary by implementation, so your owner’s manual is the final word for your car.
”It blinks when I press the button but nothing opens”
This is the most common situation, and it doesn’t mean HomeLink failed. HomeLink is doing its job — the signal is going out. The opener is the side that isn’t responding.
Four causes account for almost every case.
Range. Residential driveway gates commonly sit 50–300 feet from the street. HomeLink’s effective transmission range against a gate receiver is roughly 50–100 feet under clear-line-of-sight conditions. Pressing the button from the street before you’ve pulled onto the property often puts you outside the receiver’s working range. The same hardware works fine once you’re closer in.
The original remote also stopped working. If the opener’s own handheld remote doesn’t open the gate, the issue is in the opener or its receiver — not HomeLink. Run through the gate opener won’t open diagnostic before spending time on HomeLink reprogramming. HomeLink can only do what the opener’s receiver will authorize.
Antenna position. The opener’s antenna is typically a short wire hanging from the control board or motor housing. If it’s been pushed up, coiled against the board, or cut, receive range drops substantially. It should hang straight down, unobstructed, away from metal surfaces.
Rolling-code Step 2 was skipped. For LiftMaster Security+, LiftMaster Security+ 2.0, Chamberlain Security+, and Genie Intellicode systems, HomeLink requires two steps: one at the car and one at the opener’s control board. Skipping Step 2 leaves HomeLink transmitting a code the receiver doesn’t recognize as authorized. The blink happens; the gate ignores it. The full procedure is in the HomeLink rolling-code programming guide.
What the rapid-blink state is telling you
When you hold the HomeLink button and your original remote together during initial training, the LED transitions from a slow blink to a rapid flash. That rapid flash means Step 1 is done — HomeLink captured the frequency and code pattern.
For fixed-code openers (older units with DIP-switch remotes, common on pre-2005 Mighty Mule and TOPENS equipment), rapid blink means you’re finished. Press the trained HomeLink button and the gate should open.
For rolling-code openers — anything running LiftMaster Security+, Security+ 2.0, Chamberlain Security+, or Genie Intellicode — the rapid blink is only halfway. The opener’s control board hasn’t been told to trust this HomeLink unit yet. That’s what the LEARN button press does.
The sequence from the opener’s side:
- Open the motor housing cover to access the control board.
- Press and release the LEARN button once. The LEARN indicator lights up. You have roughly 30 seconds.
- Return to the car and press the trained HomeLink button once.
- If the gate moves, the pairing is complete. The LEARN indicator will go out.
If 30 seconds isn’t enough to walk the driveway and press the button, two people make it straightforward. One at the control board, one in the car, coordinating by phone.
After a car battery replacement
A persistent question: does a dead or swapped 12V battery erase HomeLink?
In most cases, no. Gentex designed HomeLink to retain programs in non-volatile memory that survives power loss. Swapping the car battery does not typically affect HomeLink’s stored channels.
If HomeLink stopped working after a battery swap, more likely causes:
- The opener’s own receiver was disrupted by a power interruption during the battery work
- The gate’s power supply was briefly cut as a side effect of the service visit
- Someone pressed the LEARN button on the opener’s board (which clears all paired devices) while the car was in for service
Walk through the opener’s own handheld remote first. If it works, HomeLink’s programs are intact and the issue is elsewhere. If the original remote also stopped working, the opener’s receiver was reset and needs re-pairing for all devices.
The full battery-replacement scenario is covered in Why Your HomeLink Stops Working After You Replace the Car Battery.
Clearing HomeLink and re-training from scratch
When the fastest path forward is a clean slate:
- Hold all three HomeLink buttons at the same time.
- Keep them held for 10–20 seconds.
- The LED flashes rapidly several times. Release.
- All three channels are now empty.
This doesn’t affect anything on the opener’s side. The opener will still respond to the original handheld remote and any other devices paired before the clear. Clearing only removes HomeLink’s stored programs from the car.
On Tesla, Ford Sync-era vehicles, and cars where HomeLink is integrated into a mirror module rather than an overhead console button, the clear procedure may use a different button combination — check the owner’s manual for the specific sequence.
For background on why built-in HomeLink is being removed from new vehicle trim levels entirely, Premium Cars Are De-featuring HomeLink covers the licensing and margin pressures driving that trend.
A different approach to the underlying problem
HomeLink’s LED states are fixable. The more structural issue — having to train an RF credential to a receiver that has range limits and rolling-code pairing requirements — is harder to engineer around within the protocol.
There is a newer category of gate automation that works from vehicle location rather than radio signal, so the gate begins opening before the car is close enough for HomeLink to transmit. If that direction is worth following, getproxly.com/beta is where to see what we’re building.
References
- Gentex HomeLink programming documentation — homelink.com
- LiftMaster LEARN button programming reference — liftmaster.com
Frequently asked questions
- The blink means HomeLink is trained and transmitting — the opener isn't responding. Confirm the opener's own remote still works, check that you're within 50–100 feet of the receiver, and verify the antenna wire hangs straight down from the control board. If all three check out, rolling-code Step 2 (the LEARN button) was likely skipped.
- It's amber. Most in-vehicle HomeLink implementations use a single amber LED. Under certain cabin lighting or through tinted plastic, it reads as orange or reddish — which is why 'HomeLink blinks red' is one of the most searched phrases for a problem that involves no red LED at all.
- Usually no. Modern HomeLink stores programs in non-volatile memory that survives power interruptions. If HomeLink stopped working after a battery swap, the opener is the more likely culprit. Confirm the opener's own remote still works before re-training HomeLink from scratch.
- Hold all three HomeLink buttons simultaneously for 10–20 seconds until the LED flashes rapidly several times. All stored programs are gone. The hardware is unaffected — you can re-train immediately. The clear procedure doesn't touch the opener's side of the pair.
- Rapid blink means HomeLink captured the remote's signal and completed Step 1. For rolling-code openers — LiftMaster Security+, Chamberlain, Genie Intellicode — that's only half. You still need to press the LEARN button on the opener's control board within 30 seconds, then press the HomeLink button up to three times to complete authorization.
- It depends on which indicator your car uses. Overhead-console HomeLink has a single amber LED (often mistaken for red), where the blink pattern carries the meaning: no blink means the channel is empty, a rapid blink means a signal was captured, and a brief glow with the door responding means it's working. Mirror-integrated systems use color instead: solid orange is empty, a rapid green flash means the stored signal is invalid, and solid green means it's stored and good. Your owner's manual confirms which style your car has.
Why does HomeLink blink but the gate or garage doesn't open?
Is the HomeLink LED actually red, or another color?
Does replacing the car battery erase HomeLink programs?
How do I clear all HomeLink channels and start over?
What does rapid blinking during programming mean?
What do the HomeLink light colors — orange, red, and green — mean?
Keep reading

Infiniti QX60 and QX80 HomeLink: Programming a Driveway Gate
Infiniti QX60 and QX80 have three HomeLink buttons in the overhead console. For a driveway gate, you need a two-step process: train from the remote, then sync rolling code at the LEARN button.
How to Pair HomeLink to a CAME Gate Opener
CAME gate openers use 433.92 MHz and their own rolling code. Here is how to pair HomeLink — and why the receiver's LEARN button is the step most guides skip.

Which Cars Have HomeLink? A Make-by-Make Reference for 2026
HomeLink availability depends more on trim than model. This reference lists which cars include it factory-fitted in 2026, and what to do if yours doesn't.