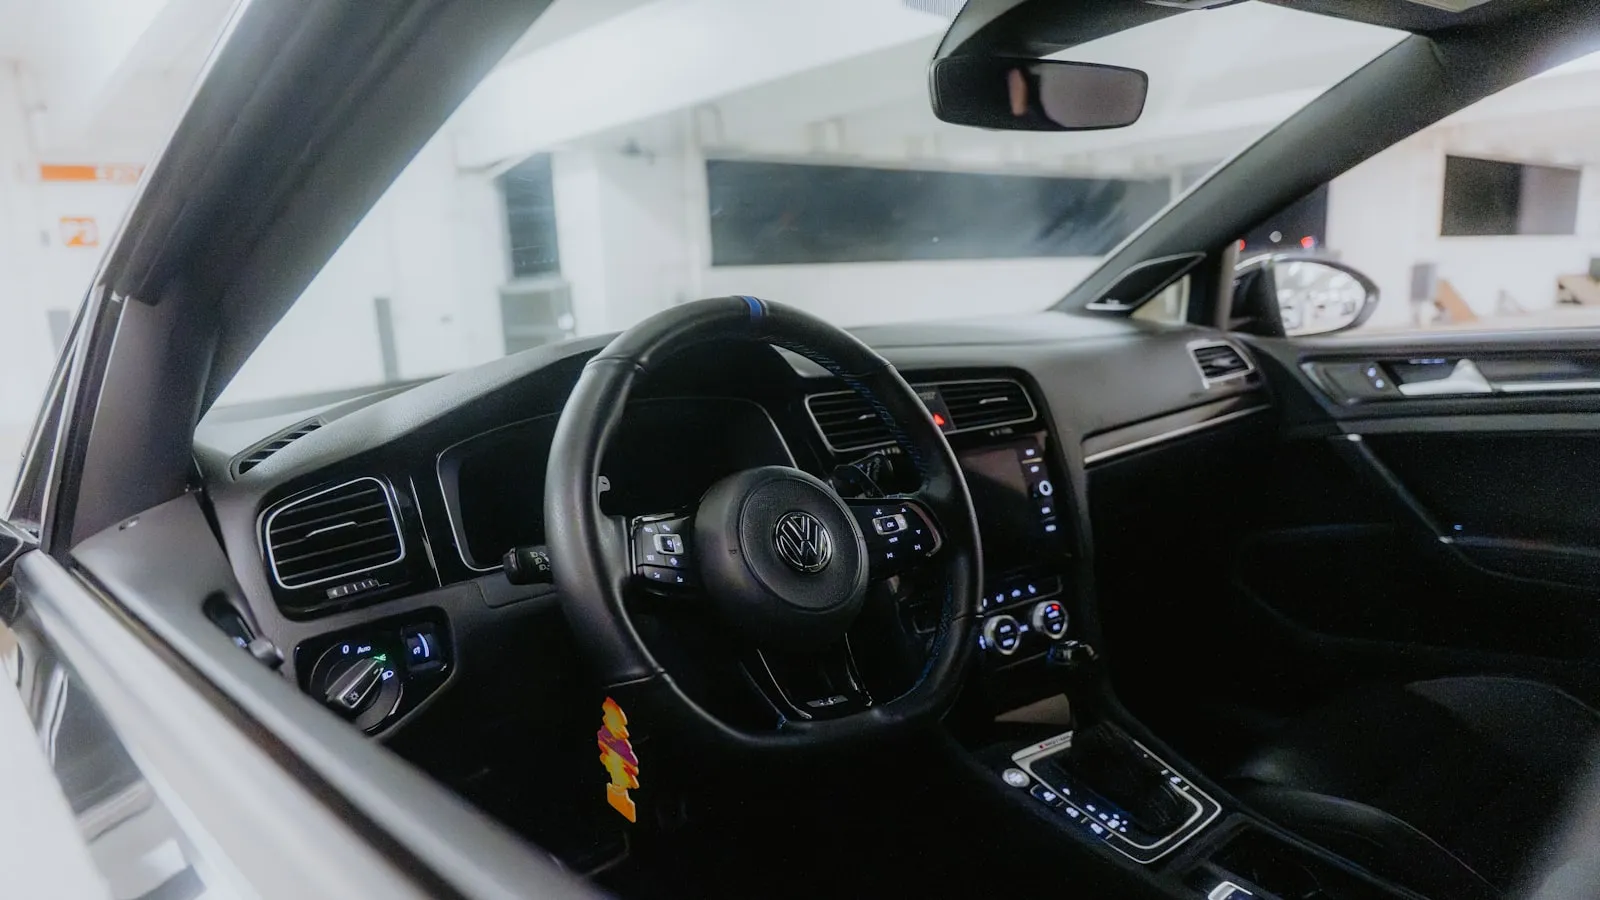
When you return a leased car, the dealer checks mileage, paint, and tires — but not HomeLink. Your gate and garage codes stay in the car until someone clears them.
What HomeLink Stores, and How Long It Stays Valid
HomeLink keeps its entries in hardware on the vehicle — not in the cloud, not tied to your phone account, and not in any dealership database. The entries survive software updates, battery disconnects, and the drive to the dealer lot. They do not expire when the lease ends.
For fixed-code systems — common on older openers including some Mighty Mule models, certain DoorKing boards manufactured before 2010, and several Linear units — HomeLink stores a static copy of the RF code. That code opens your gate until you change the DIP switch settings on the opener or physically replace the receiver. A returned car sitting on a dealer lot with that entry stored can open your gate as long as someone drives it within range of the receiver, typically 20 to 50 feet.
For rolling-code systems — LiftMaster Security+ and Security+ 2.0, Chamberlain, Genie Intellicode, Nice, and most openers manufactured after 2010 — the situation is more nuanced. Rolling-code systems keep a counter: the transmitter increments it with each button press, and the receiver accepts codes within a look-ahead window, typically in the hundreds of presses. A HomeLink entry that was last used approaching your driveway still has codes remaining in that window. A new occupant pressing the stored button will burn through those codes and eventually fall out of sync with your opener — at which point the button stops working. But it works until it doesn’t, and there is no reliable way to know how many presses remain. For a full explanation of how rolling-code synchronization works, HomeLink rolling-code programming covers the pairing and re-sync mechanics in detail.
The practical takeaway: neither system makes a forgotten HomeLink entry automatically harmless. Fixed-code entries stay valid indefinitely. Rolling-code entries stay valid for an unknowable number of button presses.
What Dealers Typically Reset
The standard lease return inspection covers mechanical condition, cosmetic condition, and odometer reading. A dealer’s infotainment reset — when they perform one — typically removes Bluetooth-paired phones, navigation history, and saved Wi-Fi passwords. HomeLink is a separate hardware subsystem and is frequently left untouched, even during a full infotainment wipe.
This is not a universal policy — some manufacturer-certified pre-owned programs include a complete factory reset as part of the refurbishment checklist — but it is common enough that returning lessees should not rely on the dealer to handle it.
How to Clear HomeLink Before Returning the Car
Tesla (Model 3, Y, S, X, Cybertruck)
Tesla manages HomeLink through the touchscreen. The delete process is direct:
- Tap Controls in the bottom left of the main screen.
- Open the HomeLink card. Each stored entry appears as a named tile.
- Tap Edit, then tap Delete on each entry you want to remove.
- Confirm. The tile disappears.
If you want a complete erasure of all personal data, Controls → Service → Factory Reset removes HomeLink entries along with Bluetooth pairing, Wi-Fi credentials, navigation history, driver profiles, and all other account-linked data. This is the most thorough approach before a lease return and takes about five minutes to complete.
One note on timing: the Factory Reset option requires the car to be parked and not charging. Run it at the dealership before handing over the keys, or in the parking lot immediately before walking in.
Most Other Vehicles With Physical HomeLink Buttons
On vehicles where HomeLink lives as three buttons on the overhead console or sun visor — BMW, Honda, Acura, Toyota, Ford, GMC, Range Rover, and most others that integrated the system between 2002 and 2020 — the universal erase procedure is:
- Press and hold the two outer HomeLink buttons simultaneously.
- Hold for 10 to 20 seconds.
- The LED indicator will change — most implementations flash rapidly, then go dark.
- Release. All three slots are erased.
Confirm the erase worked by pressing each button in turn. With no paired device nearby, there is nothing to activate, but some vehicles show a different LED pattern for an empty slot versus a programmed one. If the LED behavior is ambiguous, check the owner’s manual for your specific make and model year.
For vehicles with menu-based HomeLink — common on newer BMW, Audi, Volvo, and Rivian models that moved HomeLink configuration into the infotainment system — the erase option is in the HomeLink or Garage section of the vehicle settings menu. The path varies by model year; searching “HomeLink” in the infotainment search bar usually surfaces it directly.
If You Already Returned the Car
The most reliable fix is to erase all learned remotes from your opener’s receiver, which makes the stored HomeLink entry inoperable regardless of whether it was cleared from the car:
- Locate the LEARN button on the gate or garage operator’s control board. On a driveway gate, this is usually inside the weatherproof motor housing; on a garage door opener, it hangs from the ceiling near the motor head.
- Press and hold the LEARN button until the LED flashes, changes color, or extinguishes — depending on the brand, this takes 6 to 10 seconds. LiftMaster Security+ 2.0 units with a yellow LEARN button require a 6-second hold; most other brands use a shorter press.
- This removes every paired remote and HomeLink entry from the receiver’s memory.
- Re-pair every remote and vehicle you still want to have access.
This is an inconvenience — every car and clicker that uses that opener has to be retrained — but it is a complete solution. The old car’s HomeLink entry becomes inoperable at the receiver level regardless of what is still stored in the car’s hardware.
For the re-pairing process, why HomeLink stops working with your driveway gate covers the receiver reset and re-pair sequence for the most common opener platforms.
If your gate uses a fixed-code receiver and you want to avoid retraining every remote, you can alternatively change the DIP switch code on both the receiver board and all your existing remotes. This is more involved and is usually only practical if you have a small number of remotes and want to preserve existing pairings. Most owners find the LEARN-button erase and re-pair simpler.
A Note on Entry Names
HomeLink entry names are visible on the touchscreen to anyone in the car. An entry named “Driveway Gate — 123 Elm Street” is useful when you have two gates; it is also a readable label for a stranger. Naming entries by function rather than address (“Front Gate,” “Side Garage,” “Back Fence”) is a modest precaution worth taking regardless of whether you plan to return the vehicle.
For reference on the terminology used in this piece — rolling code, fixed code, LEARN button behavior by protocol — the driveway gate glossary defines each concept in plain language.
If you are at the end of a lease and already thinking about what comes next: a growing number of newer vehicles are shipping without integrated HomeLink hardware. The trend away from built-in HomeLink in premium cars explains the manufacturer decisions behind that shift and what it means for owners planning their next vehicle.
Frequently asked questions
- No. HomeLink entries persist in the car's hardware after a lease return and are not automatically erased. Dealers do not clear HomeLink as part of the standard turn-in inspection. The previous lessee must clear it manually before returning the car.
- For fixed-code systems, yes — the stored code works until you reprogram the opener. For rolling-code systems, the entry stays valid for an unknowable number of button presses before falling out of sync. Neither situation makes a forgotten entry harmless.
- Tap Controls on the touchscreen, open the HomeLink card, tap Edit, then tap Delete on each stored entry. For a complete wipe, go to Controls → Service → Factory Reset, which removes HomeLink along with all other personal data.
- On most vehicles with physical overhead-console HomeLink buttons, press and hold the two outer buttons simultaneously for 10 to 20 seconds until the LED flashes rapidly or changes state. Release. All three slots are erased.
- Erase all learned remotes from your opener's receiver: press and hold the LEARN button on the gate or garage operator's control board until the LED flashes, which removes every paired code. You will need to re-pair all remotes and vehicles still using that opener.
- Yes. Rental return checklists do not include HomeLink. If you trained it during the rental, clear it before returning the car. Entry names you assigned — like a street address or property name — are readable on the touchscreen by the next renter.
Does HomeLink clear automatically when a leased vehicle is returned?
Can the new lessee use stored HomeLink entries to open my gate or garage?
How do I clear all HomeLink entries on a Tesla before returning it?
What is the universal HomeLink reset procedure for non-Tesla vehicles?
I already returned the car without clearing HomeLink. What should I do now?
Does this also apply to HomeLink in a rental car?
Keep reading
Pairing HomeLink to a FAAC Gate Opener
Step-by-step guide to pairing any HomeLink button to a FAAC swing or slide gate operator, covering the rolling-code board handshake, model notes, and common failure points.
HomeLink for Renters: What the Lease Doesn't Tell You
Programming HomeLink at a rental home is possible — with your landlord's help. This covers what you actually need, what to clear at move-out, and what to do when the gate is rolling code.
How to Retrain HomeLink: The LEARN Button Step Most People Miss
HomeLink retraining takes two minutes — if you know about the LEARN button step. Here is the exact sequence for fixed-code and rolling-code openers, and why the LED can mislead you.