HomeLink has been in vehicles since the early 1990s. Here is how the radio system inside that visor button actually works — and why it fails on driveway gates more often than the owner’s manual acknowledges.
What HomeLink is
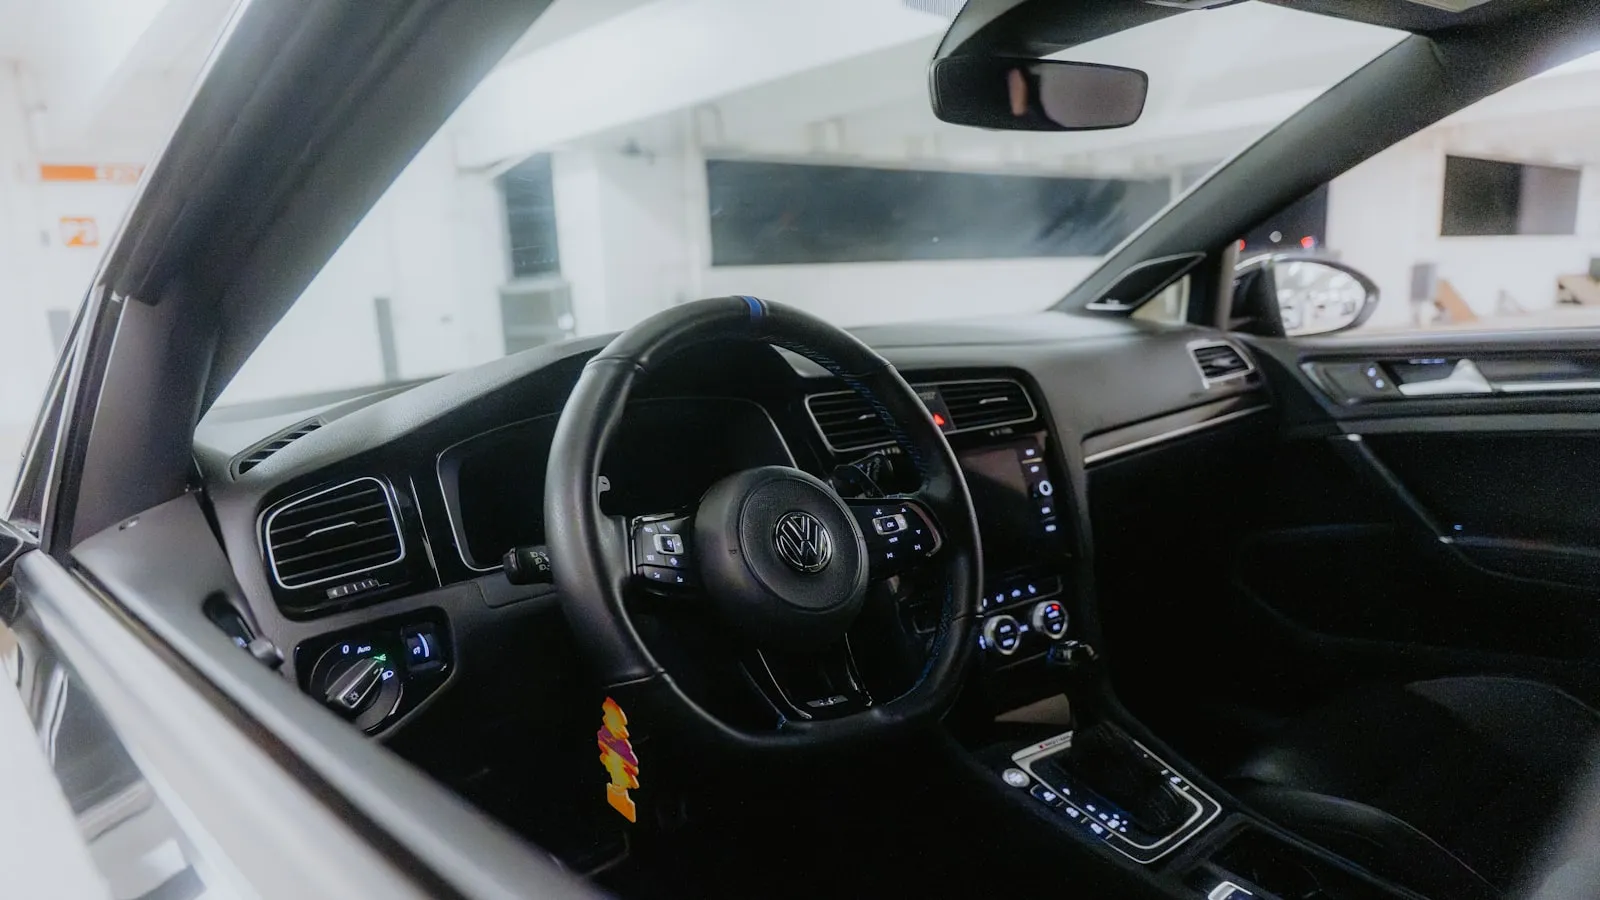
HomeLink is a licensed RF transmitter module manufactured by Gentex Corporation, a supplier headquartered in Zeeland, Michigan. The same company produces auto-dimming rearview mirrors for most major automakers, and the HomeLink module is typically embedded in the mirror housing, the overhead console, or — on some older models — the driver’s sun visor.
The module contains three independently programmable radio transmitters. Each button stores one frequency and one code pattern, which it replicates exactly whenever pressed. There is no receiver inside the unit. HomeLink sends; it does not receive a response.
Automakers license the HomeLink technology from Gentex and integrate the module at the factory. This is why the programming procedure is nearly identical across Ford, Mercedes, GM, BMW, and Toyota — they are all using the same Gentex hardware, covering the same frequency range, with a programming sequence that follows the same three-step logic in every owner’s manual.
HomeLink does not require a subscription, an internet connection, or an app. The signal travels from the visor button to the opener via a direct one-way radio transmission — the same mechanism as a handheld remote clicker, just embedded in the car and trained to the owner’s specific opener rather than shipped already paired.
The radio frequencies HomeLink speaks
Residential openers in North America have used several frequency bands over the decades, and HomeLink supports all of them by learning the frequency from the original remote during programming.
| Frequency | Common applications |
|---|---|
| 286–300 MHz | Older Overhead Door Corporation fixed-code systems |
| 310 MHz | Older LiftMaster, Sears Craftsman |
| 315 MHz | Modern LiftMaster and Chamberlain (Security+ 1.0 and 2.0) |
| 318 MHz | Genie Intellicode 2 receivers |
| 355–360 MHz | Older Stanley and Multi-Code systems |
| 390 MHz | Wayne Dalton, some Overhead Door models |
| 418 MHz | Marantec and some older US systems |
| 433.92 MHz | FAAC, BFT, CAME, and most European-origin brands |
HomeLink stores whichever frequency it was trained with. A button trained to a LiftMaster remote will transmit at 315 MHz every time it is pressed. A button trained to a FAAC remote will transmit at 433.92 MHz. The module hardware is the same across all cars; the stored parameters differ.
This means HomeLink is not inherently a “315 MHz system” or a “433 MHz system.” It is a trainable transmitter that takes on the signal characteristics of the remote it learned from. The constraint is that each button holds one frequency at a time — you can erase and retrain a button, but a single button cannot transmit on two different frequencies simultaneously.
For a plain-English reference on the terms used here — rolling code, fixed code, dry contact, control board terminals — the driveway-gate glossary defines each one.
Fixed code vs. rolling code: the distinction that drives most failures
Before the mid-1990s, most residential openers used fixed codes. The transmitter broadcast the same code on every press, and the receiver accepted any signal matching the stored pattern. Programming HomeLink to a fixed-code remote is a single step: hold the remote near the HomeLink button, press both simultaneously until the indicator light transitions from a slow flash to a rapid flash. Done. The button now replays that exact signal.
Fixed-code systems were straightforward to clone. A scanner in range could capture the code and replay it later, which led to a category of garage burglary in the 1980s and 1990s. The industry’s response was rolling code — also called hopping code — where the transmitter and receiver share a cryptographic key and advance their internal code counter after every valid activation. A code replayed from a previous session is recognized as stale and rejected.
LiftMaster and Chamberlain implement rolling code as Security+ 2.0 at 315 MHz. Genie implements it as Intellicode at 315 or 390 MHz. Both rely on variants of the KeeLoq block cipher, a code-hopping algorithm developed by Microchip Technology that became the industry standard for residential RF access control in the late 1990s.
HomeLink supports rolling-code openers, but the programming procedure requires one additional step that is easy to miss.
The rolling-code programming procedure in full
For rolling-code openers, the standard programming flow has two distinct parts:
Step one: capture the remote’s signal. Hold the original remote close to the HomeLink button — within a few inches to maximize signal strength. Press and hold both the HomeLink button and the remote simultaneously. Watch the HomeLink indicator light. It will start with a slow flash (roughly once per second). When it transitions to a rapid flash, release both. HomeLink has stored the frequency, the protocol, and the starting code value.
Step two: sync the sequence counter with the opener. Walk to the opener motor unit — mounted on a gate post, a garage ceiling, or a wall bracket depending on the installation. Find the Learn button. On most LiftMaster and Chamberlain units, it is a small colored button (red, yellow, orange, or purple depending on generation) near the antenna wire, accessible after removing the light cover or motor panel. Press and release it. The opener’s indicator light will blink or the unit will produce a sound to confirm it entered learn mode. Within about 30 seconds, return to the vehicle and hold the programmed HomeLink button. When the opener responds — a blink or click — the sync is complete.
Without step two, HomeLink captures the rolling-code protocol correctly but the opener’s internal counter is not aligned with HomeLink’s starting position. The opener accepts the first press or two (most rolling-code systems allow a small lookahead window to handle cases where the remote was pressed outside range), then stops responding entirely. Owners who do only step one and then report that HomeLink “worked once and stopped” are almost universally describing this exact condition.
A complete walkthrough of the rolling-code procedure for LiftMaster, Chamberlain, and Genie openers, with the differences for each brand’s Learn button behavior, is in HomeLink programming for rolling-code gate openers.
Why HomeLink works reliably for garage doors but struggles at driveway gates
The RF mechanics are the same. The physical setup is not.
A garage door receiver mounts inside the structure — on the ceiling, on a wall bracket near the track, or inside the motor unit above the door. When a car approaches the garage, the receiver is typically 15–25 feet from the driver’s visor button and is enclosed within the structure. Signal attenuation through the door panel is minimal.
A driveway gate receiver mounts outdoors on a gate post, a pillar cap, or the side of the motor enclosure. When a car stops at a closed gate, the receiver may be 40–80 feet from the transmitter. The signal travels through open air, at whatever angle the car arrives. The car body itself attenuates signals on the path between the antenna and the button.
Gate openers in the mid-price tier often use less-sensitive RF receivers than their garage-door counterparts. This is partly cost, but also a design assumption: handheld remote clickers are generally used at shorter range and closer angles than visor-embedded transmitters. The gate market was built around the expectation that the driver would hold a remote out the window, not press a button flush against the headliner.
Three patterns account for most HomeLink failures at driveway gates:
Frequency mismatch. The gate opener uses 433.92 MHz and the HomeLink button was trained with a 315 MHz garage remote. The gate’s receiver is tuned to 433.92 MHz and ignores the 315 MHz transmissions entirely. The fix is to retrain the HomeLink button with the gate opener’s own remote. To confirm the gate opener’s frequency, check the FCC ID label on the motor unit (legally required on any RF transmitter sold in the US) or the opener’s installation manual.
Skipped rolling-code sync. The Learn button step was omitted, or the sequence counter drifted because the remote was pressed many times without HomeLink present. The fix is a clean reprogram: erase the stored button (hold it until the light flashes, indicating it cleared), then complete both steps in order.
Distance and receiver sensitivity. The receiver is mounted too far from where cars stop, or the antenna lead is coiled inside the motor box instead of extended toward the road. Some gate opener brands permit the antenna to be extended or repositioned on an external bracket. Some owners resolve the issue by pressing the HomeLink button while still 20–30 feet from the gate, before the car reaches its full stop position.
A step-by-step diagnostic sequence for driveway gate failures is in why HomeLink stops working with your driveway gate, covering frequency confirmation, rolling-code re-sync, and receiver antenna checks in order.
What HomeLink does not do
Several capabilities that owners expect from the system are handled by different hardware categories:
Confirmation. HomeLink does not know whether the gate or garage opened. It transmits a signal; it does not receive acknowledgment. If the opener failed to respond — because of a dead motor battery, a limit switch error, a power outage, or a receiver fault — the button press looks identical to a successful open from the car’s perspective. The only confirmation is visual: the car arrives at an already-open gate or must wait.
Proximity triggering. HomeLink activates when you press the button. It does not activate when the car gets close to the gate. Auto-proximity approaches — where the gate opens as the car approaches, without any button press — require a different hardware category, one where the credential travels with the car and communicates ahead of arrival. That gap is the reason most owners start looking for a HomeLink alternative in the first place.
App integration. HomeLink does not connect to myQ, Apple Home, Google Home, or any other networked platform natively. Some automakers offer in-vehicle myQ integrations through their telematics apps (Ford, Hyundai, and Kia announced native integrations in recent model years), but those use a separate communication path — cellular to cloud to opener Wi-Fi module — not HomeLink’s RF transmitter.
Multiple codes on one button. Each HomeLink button holds one code. With three buttons and three devices already assigned (a garage, a gate, a second entrance), adding a fourth device means either replacing one of the three stored codes or using an external relay module to trigger two devices from a single button press.
For a broader view of the options that extend beyond what HomeLink offers — including RF receiver add-ons, proximity-based systems, and the myQ ecosystem — HomeLink alternatives for driveway gates maps the category.
References
- Gentex Corporation. HomeLink Trainable Transceiver System. homelink.com
- Federal Communications Commission. Part 15 — Radio Frequency Devices. 47 C.F.R. § 15.
Frequently asked questions
- HomeLink stores the frequency of the remote it was trained with. North American openers use frequencies from 286 MHz up to 433.92 MHz. Common examples: 315 MHz for LiftMaster and Chamberlain, 318 or 390 MHz for Genie, 433.92 MHz for FAAC and European brands. HomeLink covers them all.
- Garage door receivers mount close to the transmitter, inside a sheltered enclosure, typically 15–25 feet from where the car stops. Gate opener receivers mount outdoors on a post, sometimes 40–80 feet away. The longer signal path and less-sensitive gate receivers explain most failures.
- Rolling-code openers change their access code after every activation. After capturing the remote's signal in HomeLink, you must press the opener's Learn button to sync the sequence counter. Skip this step and the opener may open once or twice before ignoring HomeLink entirely.
- Most HomeLink systems have three independently programmable buttons — one device each. Some vehicles offer four or five buttons depending on how the automaker integrates the Gentex module. Each button holds one frequency and one code at a time.
- HomeLink stores codes in non-volatile memory, so a standard battery swap leaves programming intact. An extended disconnect or an ECU reset during a dealer service visit can sometimes erase stored codes. If that happens, the programming procedure needs to be repeated from scratch.
What frequencies does HomeLink transmit on?
Why does HomeLink work on my garage door but not my driveway gate?
What is the Learn button step in HomeLink programming, and why does it matter?
How many devices can HomeLink control?
Does replacing the car battery erase HomeLink programming?
Keep reading
HomeLink in a Rental Car: Yes, You Can
HomeLink works in any rental car the same way it works in yours. Here is how to program it for your gate and clear it cleanly before returning the keys.

HomeLink vs RF Clicker: The Battery-Drawer Comparison
HomeLink and an RF clicker both open your gate from the driver's seat. This comparison covers range, reliability, battery quirks, and which one you'll actually want on a rainy night.
How to Program Ford HomeLink (F-150, Expedition, Explorer, Bronco, and Ranger)
Programming Ford HomeLink on F-150, Expedition, Explorer, Bronco, and Ranger — button location by generation, the rolling-code two-step, and five common reasons training stalls.