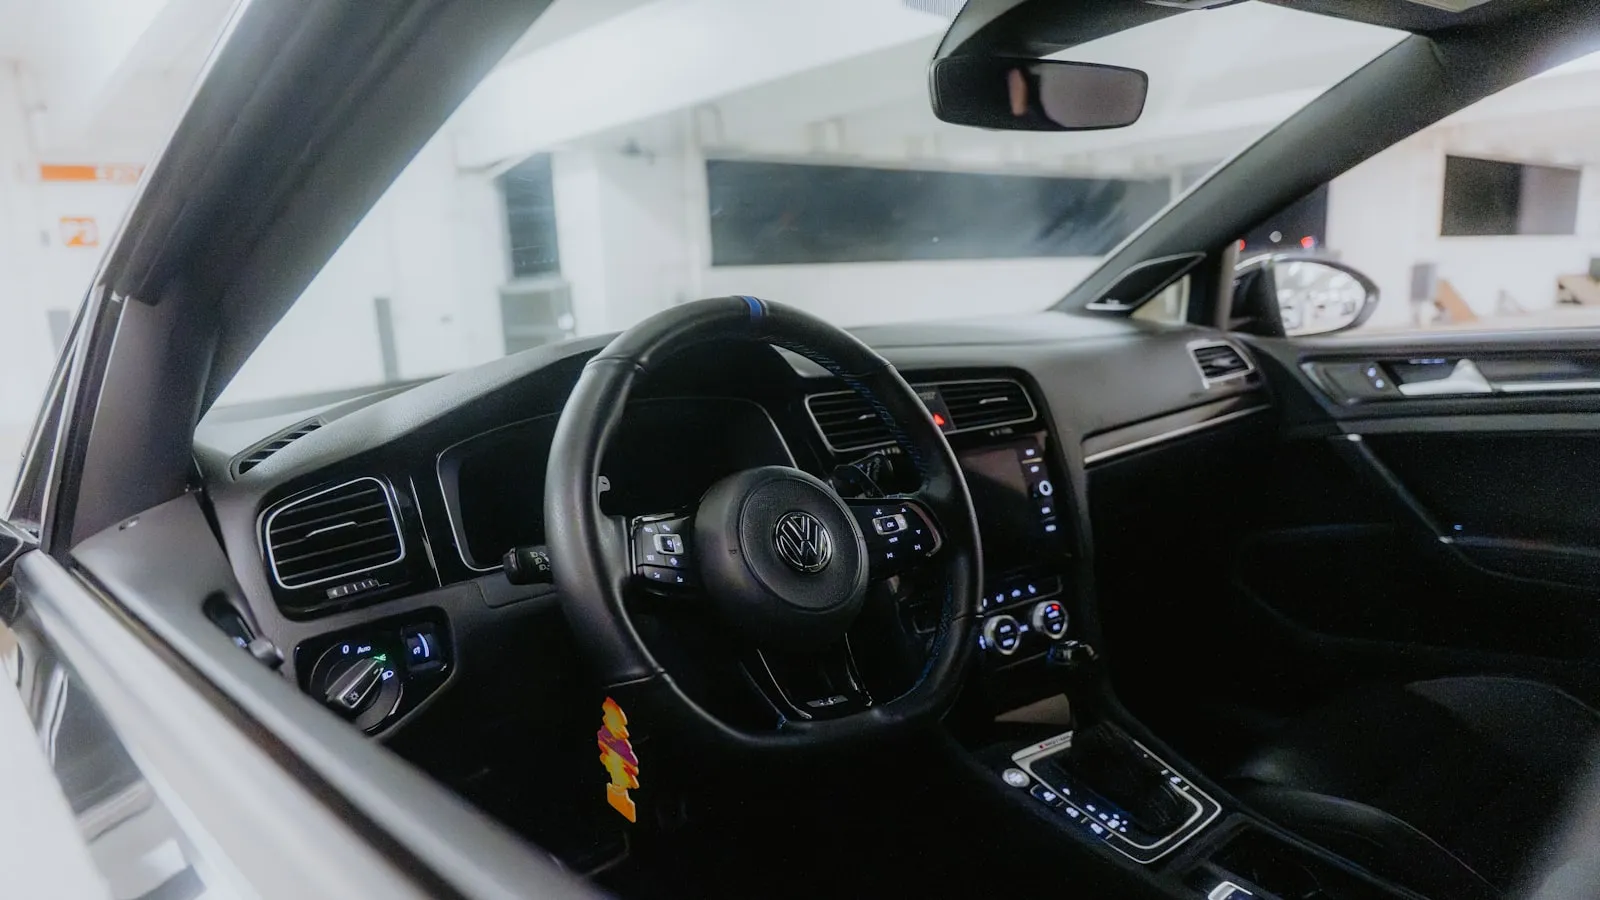
To program HomeLink to a driveway gate: train it to your existing gate remote, press the Learn button on the gate operator’s control board, then activate HomeLink three times so the rolling code syncs. That’s the same pairing that sets up a garage door in about thirty seconds — but at a gate it can take an afternoon or fail outright, because gate operators differ from garage openers in RF receiver placement, antenna routing, and protocol support.
This guide covers the complete picture: how the pairing works, which gate openers support it, the step-by-step process for both rolling-code and fixed-code units, why failures happen at gates specifically, and what exists above the ceiling that HomeLink reaches.
For the underlying mechanism of how HomeLink transmits and why it works for garage doors before we get into gates, see How HomeLink Actually Works (And Where It Quietly Fails).
What HomeLink Needs From a Gate Opener
HomeLink is a radio-frequency transceiver — typically built into the vehicle visor, rearview mirror, or overhead console — that records the frequency and code from an existing remote, then replays that signal when you press the button. During a rolling-code pairing sequence, it also synchronizes a counter handshake with the opener.
For that process to work with a gate opener, the opener must satisfy two conditions:
- A receiver that operates within HomeLink’s frequency range: 288, 310, 315, 390, 418, or 433 MHz.
- A Learn button (or equivalent programming mode) on the control board that accepts a new rolling-code transmitter.
Many gate operators — particularly commercial-grade units marketed for residential use — have neither. They expect hard-wired keypads, telephone-entry systems, or proprietary remotes on frequencies outside HomeLink’s range. A gate operator’s product sheet will specify its remote protocol; if it reads “hard-wired only” or names a proprietary system with no radio option, HomeLink won’t reach it.
To understand what’s inside a gate control board and how the receiver module fits into the larger system, see How a Residential Gate Opener Actually Works.
Which Gate Openers Are Compatible
LiftMaster / Chamberlain — The most HomeLink-friendly gate operator line available in the US. Models using Security+ 2.0 (identified by a purple Learn button) pair with HomeLink through the standard two-step rolling-code procedure. Older LiftMaster gate units with fixed-code DIP switches pair via the basic training sequence. The CSW24UL and comparable swing-gate operators carry the same receiver protocol as the residential garage lineup, which means the pairing process is identical.
Nice / Apollo — Select models in the Apollo HL and SL series accept standard RF remotes and expose a Learn button. Compatibility is not uniform across the line; the control board documentation for the specific model is the authoritative source.
Mighty Mule — Entry-level units in the MM series use fixed-code RF at 315 MHz. They pair through a button-hold sequence rather than a Learn button. HomeLink covers 315 MHz, so they’re compatible — but fixed-code carries a known security tradeoff (a recorded replay of the signal can activate the gate).
FAAC and DoorKing — Many operators in these lines use proprietary receiver frequencies or encrypted rolling codes outside HomeLink’s protocol. The RF receiver module may be an optional add-on accessory rather than standard equipment. Verify the specific model before assuming compatibility.
Step-by-Step: Rolling-Code Pairing (Security+ 2.0, Intellicode)
Rolling-code openers require a synchronized counter handshake between the transmitter and the receiver. The Learn button on the control board initiates the opener’s side of that handshake.
Before starting:
- Have the original gate remote in hand — you’ll use it once in step two.
- Have someone available to press the Learn button on the opener while you’re at the car, or plan to move between the car and the opener quickly (you have about 30 seconds after pressing Learn before the window closes).
Step 1 — Clear the HomeLink button (first-time setup only)
Hold the two outer HomeLink buttons simultaneously for about 20 seconds until the indicator light flashes rapidly. This erases any previously stored code on that button. Skip this if the button is empty.
Step 2 — Train HomeLink to the existing remote
Hold the gate remote 1–3 inches from the HomeLink button. Press and hold both simultaneously until the HomeLink indicator transitions from a slow blink to a rapid blink — typically 2–5 seconds. Release both. HomeLink has now recorded the frequency and a copy of the code.
Step 3 — Press Learn on the opener
Go to the gate operator’s control board. Press and release the Learn button once. The opener’s indicator light should turn on, signaling it is ready to receive a new transmitter. You have approximately 30 seconds.
Step 4 — Activate HomeLink three times
Return to the vehicle. Press the HomeLink button and hold for two seconds, release, press again and hold for two seconds, release, press a third time and hold for two seconds. The gate should actuate on the second or third press as the rolling-code counter synchronizes.
If it doesn’t actuate, repeat steps 3 and 4. Two or three attempts are sometimes required before the counter aligns.
For model-specific Learn button locations and extended rolling-code guidance, see HomeLink Programming for Rolling-Code Gate Openers.
Step-by-Step: Fixed-Code Pairing
Fixed-code openers — DIP switch units, older RF boards, some budget residential models — store a static code rather than a rolling counter. There is no Learn button; the remote and opener share a code that is set in hardware.
Step 1 — Confirm DIP switch alignment
Before HomeLink is involved, the remote’s DIP switches and the opener’s code switches must be set identically. This is a one-time setup step when the remote is first put into service.
Step 2 — Train HomeLink
Hold the remote 1–3 inches from the HomeLink button. Press both simultaneously until the indicator transitions from slow to rapid blink. Release both. HomeLink now has the static frequency and code.
Step 3 — Test
Press the HomeLink button. The gate should respond exactly as if you pressed the original remote.
Fixed-code pairing is simpler, but it carries a replay-attack vulnerability. Anyone who captures the signal can replay it to open the gate. Most gate operators shipped in the past 15 years use rolling-code encryption to address this.
Why Gate Pairing Fails (And What to Do)
Gate operators fail HomeLink more consistently than garage doors for reasons that are structural rather than random. The same car that pairs a garage door in 30 seconds can spend an hour on a gate opener with no result. Here are the common causes and how to address each.
Receiver antenna placement
Garage door opener receivers hang at ceiling height inside the garage, with the antenna wire dangling into open air and a direct line of sight to any car approaching the door. Gate operator receivers sit inside sealed weatherproof enclosures — often at post height, sometimes behind galvanized steel or solid masonry. A receiver antenna wire that is coiled inside the housing instead of extended cuts effective range from 50–100 feet to under 10 feet.
Fix: Open the operator enclosure and inspect the antenna wire (usually a short length of wire extending from the receiver board). If coiled, straighten it and route it vertically or toward the direction of approaching vehicles. Some operators accept a longer aftermarket antenna that mounts externally.
Frequency mismatch
HomeLink covers 288–433 MHz. If the gate operator’s remote transmits outside that range, HomeLink cannot replicate it. This is most common with older European-standard operators (433.92 MHz is within range; some systems use 868 MHz, which is not).
Fix: Find the FCC ID number printed on your gate remote and search the FCC database to confirm the registered frequency. If it falls outside HomeLink’s range, HomeLink cannot control that opener through a firmware update or accessory — the receiver frequency is fixed in hardware.
Rolling-code counter out of sync
A control board replacement, extended power outage, or accidental repeated Learn button presses can cause the opener’s expected counter to diverge from the transmitter’s counter, resulting in the gate ignoring the HomeLink signal.
Fix: Clear the opener’s learned transmitter memory (typically by holding the Learn button until the indicator turns off, which erases all stored remotes) and clear the HomeLink button. Then repeat the full pairing sequence from step one.
Opener has no radio receiver
Some gate operators ship without a radio receiver module and are designed exclusively for wired inputs: keypads, access control panels, or telephone entry systems. The control board has dry-contact input terminals but no RF section.
Fix: Install a compatible add-on receiver board. LiftMaster’s external receiver accessories (identified by the purple Learn button) wire into the dry-contact terminals on most control boards and bring Security+ 2.0 compatibility to operators that didn’t ship with it. Verify the terminal voltage and contact type against your control board’s specifications before installing.
For troubleshooting range drop-off after a successful pairing — where HomeLink worked and then degraded over time — see HomeLink Range Dropped? Five Causes and How to Fix Each One.
Car-Specific Notes
HomeLink’s physical interface and software menu differ by manufacturer. The underlying RF protocol is the same, but the steps to enter programming mode vary.
Tesla (Model 3, Y, S, X, Cybertruck): HomeLink is software-controlled and entered from the touchscreen under Controls → HomeLink. The car must be in park. The indicator feedback appears on-screen rather than on a physical LED.
Rivian (R1T, R1S): The HomeLink buttons are in the overhead console. The standard three-step training sequence applies. The car must be in park.
Ford F-150 and F-150 Lightning: Buttons are in the overhead console. The procedure is identical between the ICE and EV versions. The indicator light is on the button face.
BMW (iX, X5, X7): Buttons sit behind the rearview mirror housing. Indicator behavior varies by model year; some require a longer initial hold to enter training mode.
Range Rover: Buttons are on the overhead panel. Some recent model years require the vehicle to be in park and the ignition in “run” before the programming window opens.
All of the above car models work with rolling-code gate openers using the same fundamental three-step process described above. The difference is where you find the button and what the confirmation feedback looks like.
When the Visor Button Approach Has a Ceiling
HomeLink handles a single gate and a single car well. It starts to reach its limits when a household has multiple vehicles that each need separate programming, when the gate operator has no RF receiver, or when the gate is far enough from the road that the opener’s antenna placement makes reliable range impossible.
The category that exists above this ceiling is vehicle-paired auto-open: the gate begins moving when the approaching vehicle is identified at distance — without pressing any button. If that describes the problem you’re actually trying to solve, getproxly.com/beta documents how Proxly approaches it as one option in that space.
Reference
- Gentex Corporation — HomeLink system overview and compatibility resources: gentex.com/homelink
- U.S. Federal Communications Commission — Part 15 regulations covering the low-power RF bands HomeLink uses: fcc.gov
Frequently asked questions
- No. Your gate opener needs a built-in radio receiver whose frequency falls within HomeLink's range (288–433 MHz) and a Learn button for rolling-code pairing. Many commercial-grade gate operators use wired keypads or proprietary remotes outside that range. Check the opener manual under 'remote programming' before expecting HomeLink to work.
- Garage door receivers hang at ceiling height with an unobstructed view of the driveway. Gate operator receivers are typically inside sealed enclosures at post height, sometimes behind metal cladding. Metal attenuates RF significantly. Receiver antenna placement — not the HomeLink hardware — is the most common culprit when the garage works and the gate doesn't.
- HomeLink transmits across multiple fixed bands: 288, 310, 315, 390, 418, and 433 MHz — the same range used by most residential gate and garage remotes. During programming, the car records which specific frequency and protocol your opener responds to. If your opener's remote operates outside this range, HomeLink cannot replicate it.
- HomeLink stores codes in non-volatile memory, so a brief battery swap usually has no effect. However, a deep reset or extended disconnect can cause the rolling-code counter to fall out of sync with the opener. If the gate stops responding after a battery change, clear the HomeLink button and repeat the full pairing sequence from step one.
- Yes. Most vehicles with HomeLink provide three programmable buttons, each of which holds a separate frequency and code. Program gate one to button one, gate two to button two. The full pairing sequence — including the rolling-code handshake if needed — runs identically for each button.
- First confirm the original handheld remote opens the gate from the same position. If the handheld works but HomeLink doesn't, the problem is signal path, not programming. Move the car closer. If HomeLink works at 15 feet but not 80, inspect the receiver antenna wire inside the operator enclosure — a coiled wire instead of an extended one cuts range substantially.
Can I use HomeLink to open any driveway gate?
Why does HomeLink work at my garage door but not my driveway gate?
What frequency does HomeLink use for gate openers?
Does HomeLink lose its programming when the car battery is replaced?
Can I program HomeLink to open two different driveway gates?
HomeLink is programmed but the gate doesn't open from the driveway — what now?
Keep reading

Infiniti QX60 and QX80 HomeLink: Programming a Driveway Gate
Infiniti QX60 and QX80 have three HomeLink buttons in the overhead console. For a driveway gate, you need a two-step process: train from the remote, then sync rolling code at the LEARN button.
How to Pair HomeLink to a CAME Gate Opener
CAME gate openers use 433.92 MHz and their own rolling code. Here is how to pair HomeLink — and why the receiver's LEARN button is the step most guides skip.
Which Cars Have HomeLink? A Make-by-Make Reference for 2026
HomeLink availability depends more on trim than model. This reference lists which cars include it factory-fitted in 2026, and what to do if yours doesn't.