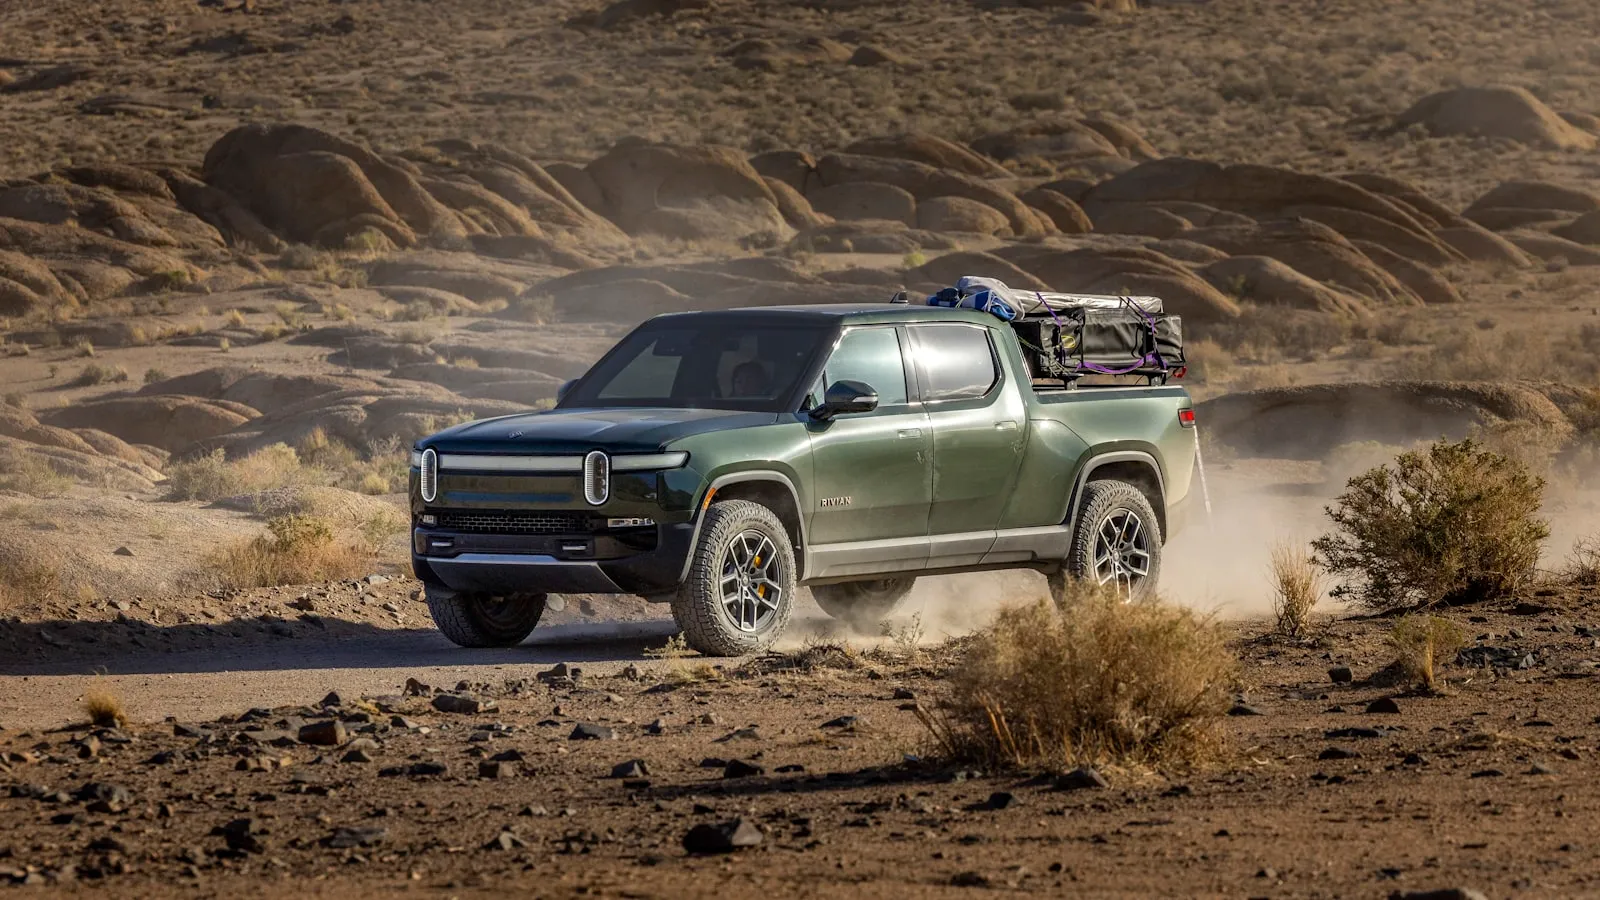
To program a Rivian R1T or R1S HomeLink for a driveway gate, capture the remote’s signal at the visor buttons, then press the LEARN button on the gate operator’s control board and hold the HomeLink channel three times to sync. Both trucks ship with a three-channel HomeLink module in the driver-side sun visor, no trim exclusions. Pairing a garage door is one step. A driveway gate with a rolling-code opener takes a second step at the gate — and that step is where most Rivian owners run into trouble.
What HomeLink the R1T and R1S carry
The module is HomeLink 5, Gentex’s current-generation system. It handles rolling-code protocols including LiftMaster Security+ 2.0, SecurityPlus, and Genie Intellicode, as well as fixed-code systems. Supported frequencies span 288, 310, 315, 390, 418, and 433 MHz — the full range of US residential gate operators. Storage is three channels, each programmable independently.
The visor placement gives a clean forward signal path through the windshield. The R1T and R1S use composite and aluminum panels that do not meaningfully attenuate the 315 MHz transmission — a contrast to the Cybertruck’s stainless steel body, which creates range constraints discussed in detail in Tesla HomeLink vs Rivian HomeLink: Two Different Philosophies. For a grounding in how the HomeLink spec handles frequency scanning and rolling-code handshakes, How HomeLink Actually Works covers the underlying protocol in plain language.
Before you start
Two things to have on hand before beginning:
- The original gate remote. Rivian HomeLink trains by capturing the remote’s signal. Without the physical remote, the initial signal capture cannot complete.
- Access to the gate operator’s LEARN button. For rolling-code openers — LiftMaster, Chamberlain, Genie Intellicode — the training requires a second step at the gate control board. Locate the board inside the weatherproof motor housing at the gate post and confirm whether you need a key or screwdriver to access it before starting.
If you are unsure whether your gate runs rolling-code or fixed-code: check the remote itself. Labels reading “Security+ 2.0,” “SecurityPlus,” or “Intellicode” indicate rolling code. If no protocol name appears on the remote, look at the LEARN button color on the control board (see the LiftMaster quick reference below).
Clearing an existing channel
If you want to reuse a channel that already has a stored code, clear it first. Hold the two outer HomeLink visor buttons simultaneously until the indicator LED transitions from a slow blink to a rapid flash — roughly 20 seconds. Release when the flash speeds up. All three channels are cleared.
To clear a single channel rather than all three, hold only that channel’s button for 10 seconds until its LED flashes rapidly, then release.
Fixed-code gate openers — one step
Some older or budget gate operators use fixed code — the remote sends the same signal on every press. Training is a single step:
- Hold the original remote 1–3 inches from the visor buttons.
- Simultaneously press and hold the desired HomeLink channel button and the remote button.
- Hold both until the HomeLink LED transitions from slow blink to rapid flash. Release.
Test the channel. If the gate activates, training is complete.
Rolling-code gate openers — two steps
Rolling-code openers require two-step enrollment because the operator and the vehicle must synchronize a shared counter, not simply copy a signal. LiftMaster Security+ 2.0 and Chamberlain boards are in this category. For a full explanation of the protocol and the three failure modes that catch most owners, HomeLink programming for rolling-code openers covers the details.
Step 1 — Capture the remote signal:
- Hold the gate remote 1–3 inches from the visor, aimed at the buttons.
- Simultaneously press and hold the desired HomeLink channel button and the remote button.
- Hold both until the LED transitions from slow blink to rapid flash. Release.
Step 2 — Sync at the gate operator:
- Go to the gate operator’s control board at the gate post.
- Press and release the LEARN button. The board’s LED will light for 30 seconds.
- Within those 30 seconds, return to the Rivian and press the programmed HomeLink channel button three times, holding each press for 2 seconds.
- The gate will cycle — opening or closing — to confirm the enrollment.
If the gate does not cycle: confirm Step 2 was completed within the 30-second window and repeat. The window closes strictly at 30 seconds.
LiftMaster LEARN button quick reference
LEARN button color identifies the rolling-code protocol on LiftMaster and Chamberlain gate operators:
- Purple: Security+ 2.0, 315 MHz
- Orange: Security+ 2.0, 315 or 390 MHz
- Yellow: Security+, 390 MHz
- Red or green: Older generation — may not complete the rolling-code sync with HomeLink 5
All four colors follow the same two-step process. The red and green variants are the ones most likely to fail at Step 2 on newer vehicle HomeLink modules; in those cases, testing the original remote’s range and replacing it if the battery is weak is a useful first diagnostic.
Common failures at the gate
HomeLink trains but the gate does not respond on first use. The rolling-code sync (Step 2) was skipped or timed out. Repeat the full two-step process, paying close attention to the 30-second window at the operator.
Range drops below 20 feet. The gate operator’s antenna wire is likely coiled inside the housing or mounted horizontally. Extend it vertically from the control board — most residential operators ship with 12–18 inches of wire intended to hang straight. Extending an antenna from coiled to vertical typically adds 30–50 feet of reliable operating range.
Gate opens inconsistently — works sometimes, not others. Two causes: first, a weak battery in the original remote can corrupt the Step 1 capture without obviously failing it — replace the remote battery and re-enroll from the beginning. Second, if the original remote was pressed many times after training without using the HomeLink channel, the rolling-code counters drift out of sync. Full re-enrollment fixes this.
Gate operator was replaced and HomeLink stopped working. A new gate operator board contains a fresh counter with no knowledge of existing HomeLink enrollments. Repeat both steps against the new board — there is no transfer mechanism.
The distance limit
HomeLink operates reliably at 50–100 feet under clear line-of-sight conditions. Most residential driveway gates sit 100–300 feet from the street entrance. The HomeLink button still works — the press happens at 10–20 feet from the gate post, not from the street — but it requires a deliberate action at the gate each arrival.
For owners who want the gate moving before the car reaches it, the relevant category is vehicle-location-based gate openers: systems that track the vehicle’s GPS position and trigger the gate operator when the vehicle is 200–300 feet out rather than waiting for a button press at the gate. Proxly is one option building in that direction for Rivian and other EV owners. For how this fits into the full home-arrival sequence — gate timing, charge start, garage coordination — the premium EV arrival stack covers the orchestration.
FAQ
Does the Rivian R1T have HomeLink built in? Yes. Both the R1T and R1S ship with a three-channel HomeLink module in the driver-side sun visor as standard equipment on every trim level. Rivian has not removed it from any production variant as of mid-2026.
Why won’t my Rivian HomeLink pair with my driveway gate opener? Most failures trace to a skipped rolling-code sync step. Rivian HomeLink supports LiftMaster Security+ 2.0 and similar systems, but those openers require a second enrollment step at the LEARN button on the control board. Without that step, the gate stores no code and will not respond.
How do I put my LiftMaster gate opener in pairing mode for Rivian HomeLink? Press and release the LEARN button on the gate operator’s control board. The LED will light for 30 seconds. Within that window, press the Rivian HomeLink channel button three times with a two-second hold each time. The gate cycling confirms the sync completed.
Can I use one Rivian to open two separate gates? Yes. The Rivian HomeLink module stores three channels, each independent. Assign one gate operator to one channel and the second gate to another. Both go through separate LEARN button pairings, but the in-car buttons operate them independently afterward.
My Rivian HomeLink trained successfully but the gate stopped responding after a few days. Why? A rolling-code counter drift is the most likely cause. This happens when the original remote is pressed many times after HomeLink training without using the HomeLink channel — the counters fall out of sync. Repeat the full two-step enrollment to re-synchronize.
References
- Rivian R1T Owner’s Guide — HomeLink section (rivian.com)
- HomeLink by Gentex — Programming and Compatibility (homelink.com)
Frequently asked questions
- Yes. Both the R1T and R1S ship with a three-channel HomeLink module in the driver-side sun visor as standard equipment on every trim level. Rivian has not removed it from any production variant as of mid-2026.
- Most failures trace to a skipped rolling-code sync step. Rivian HomeLink supports LiftMaster Security+ 2.0 and similar systems, but those openers require a second enrollment step at the LEARN button on the control board. Without that step, the gate stores no code.
- Press and release the LEARN button on the gate operator's control board. The LED will light for 30 seconds. Within that window, press the Rivian HomeLink channel button three times with a two-second hold each time. The gate cycling confirms the sync completed.
- Yes. The Rivian HomeLink module stores three channels, each independent. Assign one gate operator to one channel and the second gate to another. Both go through separate LEARN button pairings, but the in-car buttons operate them independently.
- A rolling-code counter drift is the most likely cause. This happens when the original remote is pressed many times after HomeLink training without using the HomeLink channel in between — the counters fall out of sync. Repeat the full two-step enrollment to re-synchronize.
Does the Rivian R1T have HomeLink built in?
Why won't my Rivian HomeLink pair with my driveway gate opener?
How do I put my LiftMaster gate opener in pairing mode for Rivian HomeLink?
Can I use one Rivian to open two separate gates?
My Rivian HomeLink trained successfully but the gate stopped responding after a few days. Why?
Keep reading

GMC Hummer EV HomeLink: Driveway Gate Setup and Timing
The Hummer EV weighs 9,063 lbs. Most driveway gates take 15-20 seconds to open. Here's how to program HomeLink and get the approach timing right.
Why Tesla HomeLink Fails on Driveway Gates (And the Fix That Isn't a Better Button)
Tesla HomeLink works reliably on garage doors. Driveway gates are a different problem. Here is what goes wrong and what fixes it.
Cybertruck Driveway Gate: Three Ways In, One Hands-Free
Cybertruck owners have three options for a driveway gate: built-in HomeLink, Tesla's geofence, or a GPS tag that opens at 300 feet with no button press.