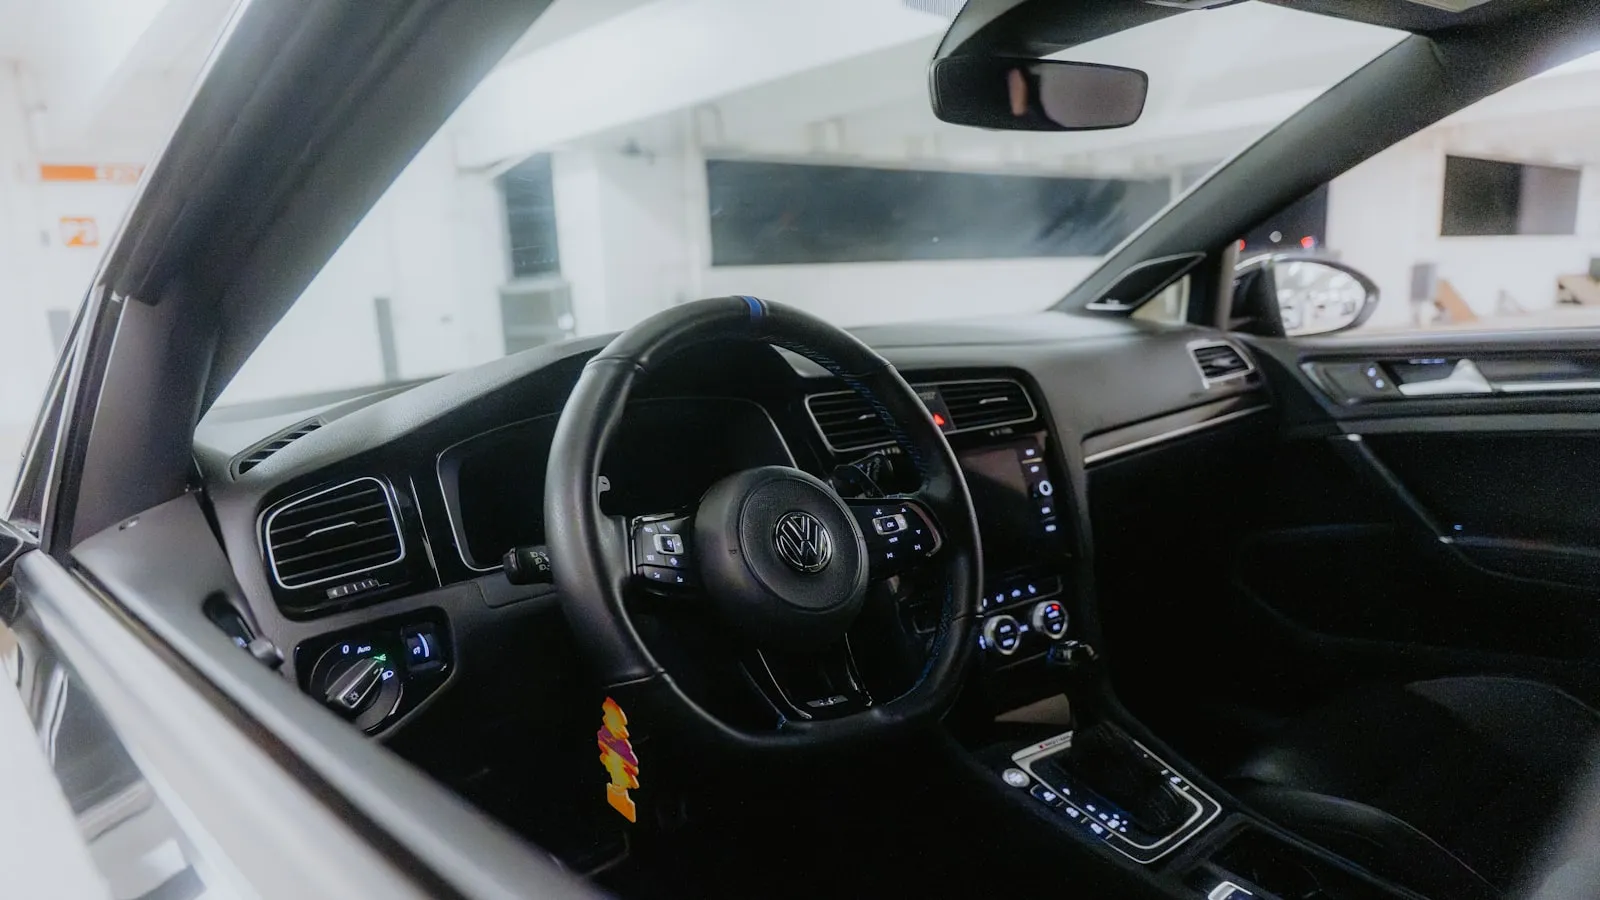
You can add HomeLink to a car that never had it two ways: swap in an auto-dimming mirror with the buttons built in, or clip a universal HomeLink transmitter to the visor. HomeLink isn’t wired into the car’s computer — it’s a self-contained transmitter, so this is a parts-and-wiring job, not a software one. The mirror route looks factory and runs about $150–$300 with a harness; the universal unit is under $100. Which one’s right depends on whether you care about the factory look or only want the door to open.
Route 1: swap in an auto-dimming mirror with HomeLink
This is the route that looks like it came from the factory. You replace the rear-view mirror with an auto-dimming mirror that has the three HomeLink buttons built into its lower frame — the same Gentex hardware automakers install on the line.
The mirror itself is the easy part. The work is in the match:
- The mount. Your car’s mirror attaches to the windshield button or bracket in a specific way. The replacement has to use the same mount.
- The harness. An auto-dimming HomeLink mirror needs switched power, a ground, and — for the dimming feature — a reverse-gear signal. Most retrofits need a wiring harness adapter that plugs into your car’s existing mirror connector so you’re not splicing into the loom.
- The part number. These vary by make, model, and year. Owners retrofitting a Kia Telluride, for example, have used specific Gentex mirror part numbers sourced from dealer parts catalogs and eBay; a different Hyundai or Subaru uses a different one. Confirm the exact mirror and harness for your vehicle before ordering — this is where retrofits go wrong.
Budget roughly $150–$300 for the mirror, plus the harness, plus install if you’d rather not fish a wire down the A-pillar. Once it’s in, you program it exactly like a factory unit — the rolling-code programming guide covers the two-step sequence, and if the indicator does something unexpected, the LED color and blink decode explains what it’s telling you.
Route 2: a universal HomeLink transmitter
If you don’t care about the factory look, a self-contained universal HomeLink unit clips to the visor or mounts to the dash, runs on its own or on a simple power tap, and programs to your opener the same way. It’s cheaper — usually well under $100 — and there’s no mirror swap and no harness matching. The trade-off is that it looks like an add-on, because it is one.
For Tesla owners specifically, neither of these is the usual path — Tesla sells a factory HomeLink retrofit module that installs behind the console. That’s a different job with a different cost, covered in the Tesla HomeLink module guide.
Before you buy: three things to confirm
- Your mirror mount type. Photograph how your current mirror attaches. A wedge-mount and a ball-mount need different replacements.
- The harness for your exact year. The same model can change connectors across a facelift. Match the year, not just the model.
- Whether you even need auto-dimming. If you only want the buttons, a non-dimming HomeLink mirror or a universal transmitter is simpler and cheaper than a full auto-dimming unit.
The honest trade-off
A retrofit genuinely restores what your car is missing — the visor button, in the place your hand expects it. But it’s worth being clear about what it doesn’t change: it’s still a button you press, it still transmits over RF with the usual range limits at a driveway gate, and it still needs pairing to each opener. If your car lost HomeLink and you’re weighing options, the retrofit is one; the full set of paths — retrofit, universal remote, app, and vehicle-paired hardware — is laid out in alternatives to HomeLink, and the reasons so many cars are dropping it in the first place are in why new EVs are dropping HomeLink.
Where Proxly fits
If the reason you’re retrofitting is that you liked pulling up and having the door already open — and a factory geofence or an old visor button did that once — a retrofit button won’t quite bring that back, because it’s still a press. That specific experience, the door opening because you arrived rather than because you pushed something, is what Proxly is built for: a Tag in the car and a Hub at the opener, no visor button required, on any car. If that’s the itch behind the retrofit, getproxly.com/beta is where to follow it.
References
- HomeLink by Gentex — official compatibility lookup and programming documentation for factory and aftermarket HomeLink hardware.
- Your vehicle’s parts catalog or a trusted OEM parts retailer — the authoritative source for the correct auto-dimming mirror part number and wiring harness for your specific make, model, and year.
Frequently asked questions
- Yes. HomeLink is not tied to the car's computer, so you can add it two ways: replace the rear-view mirror with an auto-dimming mirror that has HomeLink built in, or add a self-contained universal HomeLink transmitter that mounts to the visor or dash. The mirror route looks factory and adds auto-dimming; the universal route is cheaper and installs in minutes.
- A compatible auto-dimming HomeLink mirror typically runs $150–$300, plus a wiring harness if your car needs one, plus install labor if you don't do it yourself. A universal clip-on HomeLink transmitter is usually well under $100 and needs no wiring. On a Tesla, the factory retrofit module is a separate, pricier path — around $300–$350 installed.
- Usually, yes. The replacement mirror has to match your car's mirror mount and its wiring connector, and often needs a harness adapter to pull switched power and, for auto-dimming, a reverse signal. This is the step that decides whether the swap is easy or frustrating — confirm the exact mirror part number and harness for your make, model, and year before buying anything.
- It's cleaner-looking and adds auto-dimming, but functionally it does the same job as a $30 universal remote: you press a button and the door opens. If the factory look matters, the mirror wins. If you just want the door open, a universal remote or a windshield-mounted arrival system may get you there for less effort.
Can I add HomeLink to a car that didn't come with it?
How much does a HomeLink mirror retrofit cost?
Do I need a special wiring harness for a HomeLink mirror?
Is a HomeLink mirror better than a universal garage remote?
Keep reading

Infiniti QX60 and QX80 HomeLink: Programming a Driveway Gate
Infiniti QX60 and QX80 have three HomeLink buttons in the overhead console. For a driveway gate, you need a two-step process: train from the remote, then sync rolling code at the LEARN button.
How to Pair HomeLink to a CAME Gate Opener
CAME gate openers use 433.92 MHz and their own rolling code. Here is how to pair HomeLink — and why the receiver's LEARN button is the step most guides skip.

Which Cars Have HomeLink? A Make-by-Make Reference for 2026
HomeLink availability depends more on trim than model. This reference lists which cars include it factory-fitted in 2026, and what to do if yours doesn't.