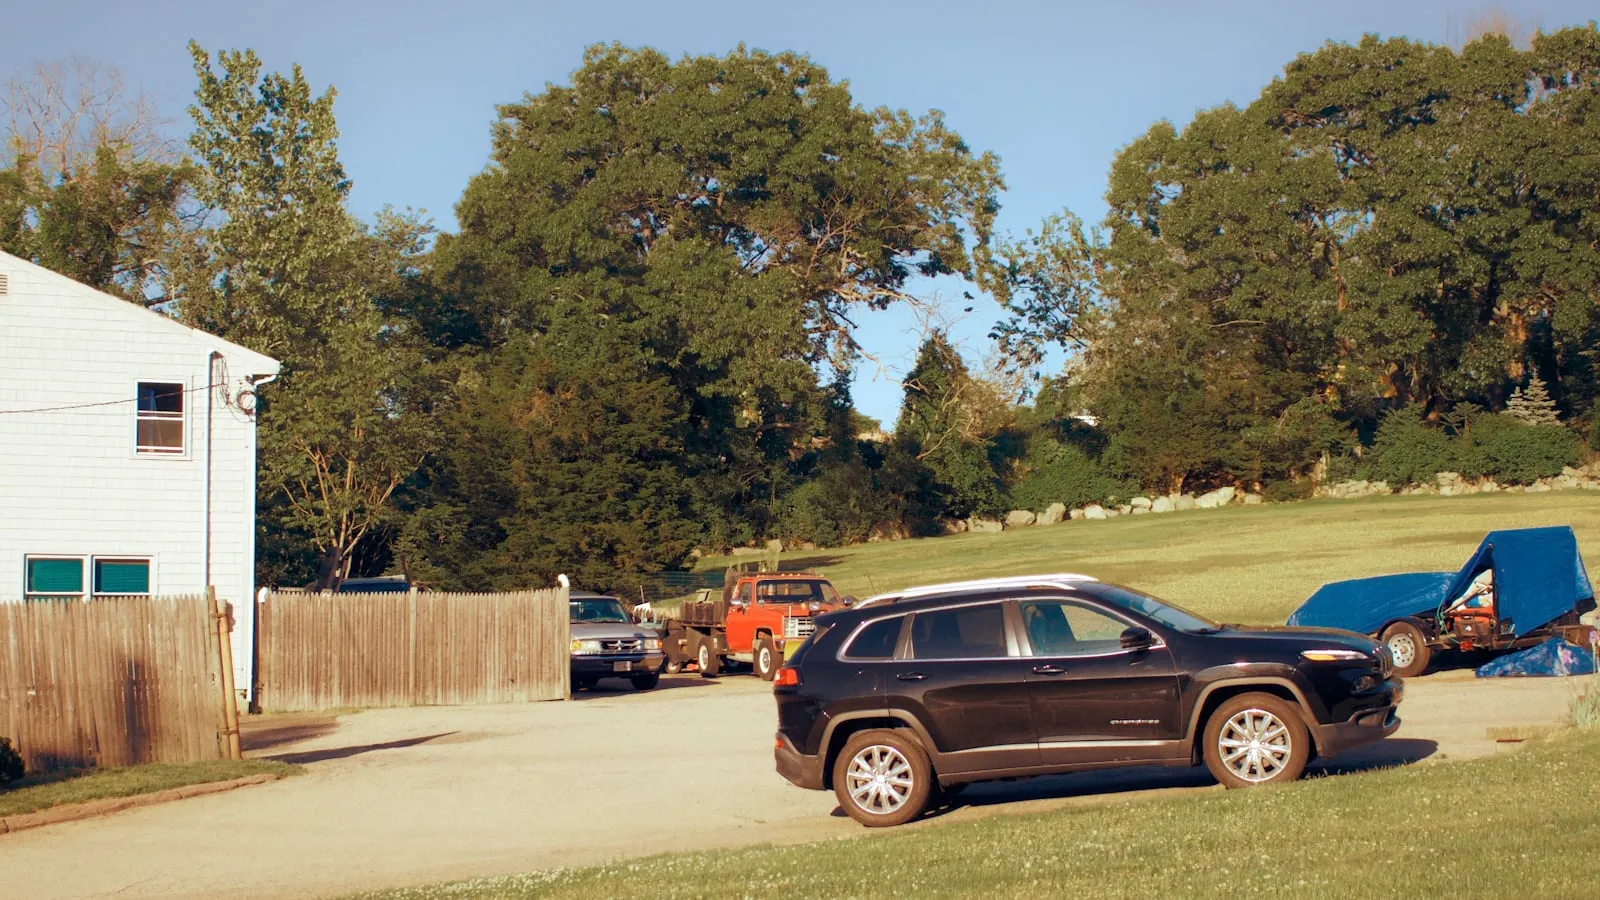
The Genesis GV60 and GV70 both include HomeLink in the overhead console — three buttons that can replace your gate remote and garage clicker. Programming a garage door takes about 30 seconds. A driveway gate takes longer because virtually every modern gate opener uses a rolling-code protocol, and that requires a second authorization step at the gate motor itself. Most car manuals skip that detail. This guide covers both steps.
What the GV60 and GV70 HomeLink System Covers
HomeLink in both vehicles broadcasts across the 288–433 MHz band, which covers the frequencies used by the major gate opener brands sold in the US:
| Frequency | Common brands |
|---|---|
| 315 MHz | LiftMaster Security+ 2.0, Chamberlain, most FAAC |
| 390 MHz | Older Genie, Overhead Door |
| 433 MHz | Genie Intellicode 2, Nice/Apollo, DoorKing, some FAAC |
Fixed-code openers (pre-1995, and some budget brands today) pair on the first step alone — HomeLink learns the code and repeats it. Rolling-code openers require both steps: first HomeLink learns the frequency and initial code from the remote, then the gate’s LEARN button authorizes the car as a valid new transmitter. Without step two, a rolling-code gate ignores the signal.
Trim availability: HomeLink is standard on GV70 and GV70 Electrified across most trim levels sold in the US. On the GV60, it’s included on Advanced and Prestige trims. If you’re ordering or buying used, check the window sticker — it’s listed as “HomeLink Universal Transceiver” under the convenience features section.
Before You Start
You need three things in place before programming:
-
The original gate remote. HomeLink copies the remote’s signal in step one. A third-party replacement or clone remote may not replicate the exact signal the gate expects — use the factory remote that came with the opener, or order a replacement direct from the manufacturer (LiftMaster, FAAC, Genie, etc.).
-
Access to the LEARN button. This button is on the gate motor’s control board, usually inside a weather-resistant enclosure on the gate post or on a wall-mounted receiver panel. For slide gates, the motor is often at the end of the driveway run. You’ll need to physically press this button during step two, so identify its location before starting.
-
Gate power on. The opener needs to be powered during both steps. If the gate has been installed but never connected to power, or if there’s been a breaker issue, resolve that first.
See HomeLink rolling-code programming — what the two-step process actually does for a deeper explanation of why the authorization step is necessary.
Step 1 — Train HomeLink to the Remote Signal
- Sit in the driver’s seat with the car in Park. Hold the original gate remote 1–3 inches from the HomeLink button you want to program — close proximity matters.
- Press and hold both the remote button and the chosen HomeLink button simultaneously.
- Hold both for up to 30 seconds. The HomeLink indicator light starts slow-blinking, then shifts to rapid-blinking. The rapid blink means the frequency has been captured.
- Release both buttons.
If the indicator goes solid green instead of rapid-blinking, the opener is fixed-code and step one is all you need — test the HomeLink button now. If it rapid-blinked, the opener is rolling-code and step two is required.
Step 2 — Authorize the New Transmitter
This step must be done within two minutes of completing step one, while the gate’s control board is in “receive new transmitter” mode.
- Go to the gate motor and press the LEARN button once. A small LED on the board will light up or start blinking — this indicates the board is ready to accept a new transmitter. The window is typically 30 seconds.
- Return to the car quickly (or have someone at the gate for you).
- Press the programmed HomeLink button three times, pausing one second between each press.
- The gate should activate. If it does, programming is complete.
On LiftMaster Security+ 2.0 boards, the LEARN button is usually yellow or orange. On Genie Intellicode 2, it’s a small square button on the side of the receiver. On FAAC boards, it may be labeled “SET” or “PROG.” Check your gate opener’s manual if the button isn’t obvious — it’s always there, just sometimes recessed or covered.
Where This Fails
Gate activates on the first press but HomeLink never works: The remote used in step one wasn’t the right one — it may be a clone or a remote from a different opener brand. Use the factory remote.
HomeLink rapid-blinked but pressing the button does nothing: Step two was skipped or the authorization window expired. Repeat both steps, and move fast between them.
Gate activates on step two but not afterward: The LEARN button was pressed but the three HomeLink presses didn’t register within the 30-second window. Repeat step two only — no need to redo step one unless you cleared the HomeLink button.
HomeLink is solid green immediately and the gate ignores it: The opener is rolling-code but HomeLink defaulted to fixed-code mode. Clear the button (hold it for 20 seconds until the indicator goes out), then repeat step one using a much shorter hold time — try 10 seconds rather than the full 30.
Nothing works after multiple attempts: The gate motor’s receiver board may be saturated with stored transmitters (many boards cap at 20 or 30). Clear one old transmitter from the board and try again. See why HomeLink stops working with your driveway gate for a full failure-mode breakdown.
Range from a Long Driveway
Once programmed, HomeLink’s usable range depends on the opener’s frequency and the gate receiver’s antenna setup.
315 MHz signals carry roughly 50–75 feet under normal conditions. 433 MHz signals typically reach 100 feet or more. These are starting points — actual range varies by antenna placement, competing RF sources, and the gate board’s receiver sensitivity.
The panoramic roof. The GV60’s panoramic glass roof can reduce signal strength compared to a standard metal roof. If your gate barely responds when you’re at the end of the driveway, test from the same spot with the sunroof shade open versus closed, and test with a window down. The difference tells you whether the car’s roof is the limiting factor.
Gate antenna placement. The receiver antenna is usually a wire that exits the control box. If the installer left it coiled inside the metal enclosure — common on rushed installs — it may be losing half its potential range. The wire should hang or extend outside the box, oriented vertically, toward the driveway. Straightening it costs nothing and often doubles the working distance.
If the gate is far enough down the driveway that the car’s position at the street makes triggering from inside the vehicle unreliable, see the EV home arrival and driveway gate guide and HomeLink driveway gate complete guide for strategies on extending range or pre-triggering the gate before you reach it.
When the Driveway Is Too Long for a Button
For gates set far back from the street, pressing HomeLink at the wheel only works if you’re already close enough — and on long driveways, that means stopping at the gate, pressing the button, and waiting. GPS-based proximity controllers solve this by triggering the gate when the car crosses a geofence, so the gate is already open when you arrive. Proxly is one option built for this use case, designed to work with existing gate hardware without replacing the opener.
References
- HomeLink compatible device list and programming guide: homelink.com
- Genesis GV60 and GV70 owner’s manuals (HomeLink section): genesis.com/us/en
- LiftMaster LEARN button programming reference: liftmaster.com
Frequently asked questions
- Yes. HomeLink is included on GV60 Advanced and Prestige trims in the US market. Buyers ordering a lower trim level should confirm on the window sticker or build sheet, as availability depends on the specific configuration. On the GV70 and GV70 Electrified, HomeLink is standard on most trim levels.
- The three HomeLink buttons are in the overhead console, near the map-light panel above the rearview mirror. Each button is independently programmable for a different gate opener or garage door. Button location and labeling are consistent across GV60 and GV70 trims that include the system.
- Garage doors sometimes pair on step one alone. Driveway gate openers almost universally use rolling-code protocols — Security+ 2.0, Intellicode, or similar — which require a second step at the gate's LEARN button to authorize the car as a new transmitter. Skipping that step is the most common reason a paired HomeLink button still does nothing on a gate.
- Not through the standard process. HomeLink captures the original remote's RF signal in step one — without it, there is no signal to learn. Obtain a replacement factory remote from the gate opener's manufacturer, not a third-party clone, pair it to the gate's control board first, then use it to train HomeLink.
- The gate receiver's antenna position is the most common cause. An antenna wire coiled inside the metal junction box instead of hanging outside toward the driveway can cut usable range significantly. On the GV60, the panoramic glass roof can also reduce signal strength; test with the sunroof panel open to compare.
- No. One HomeLink button stores one transmitter signal for one receiver. A homeowner with a separate gate and garage needs two HomeLink buttons — one for each. The GV60 and GV70 have three independently programmable buttons, which handles both with one button remaining.
Does the Genesis GV60 have HomeLink?
Where are the HomeLink buttons on a Genesis GV60 or GV70?
Why does Genesis HomeLink open the garage but not the driveway gate?
Can I program Genesis HomeLink without the original gate remote?
My GV60 HomeLink range is shorter than expected — what causes that?
Can one HomeLink button open both the driveway gate and the garage?
Keep reading
GMC Hummer EV HomeLink: Driveway Gate Setup and Timing
The Hummer EV weighs 9,063 lbs. Most driveway gates take 15-20 seconds to open. Here's how to program HomeLink and get the approach timing right.
Why Tesla HomeLink Fails on Driveway Gates (And the Fix That Isn't a Better Button)
Tesla HomeLink works reliably on garage doors. Driveway gates are a different problem. Here is what goes wrong and what fixes it.
Cybertruck Driveway Gate: Three Ways In, One Hands-Free
Cybertruck owners have three options for a driveway gate: built-in HomeLink, Tesla's geofence, or a GPS tag that opens at 300 feet with no button press.