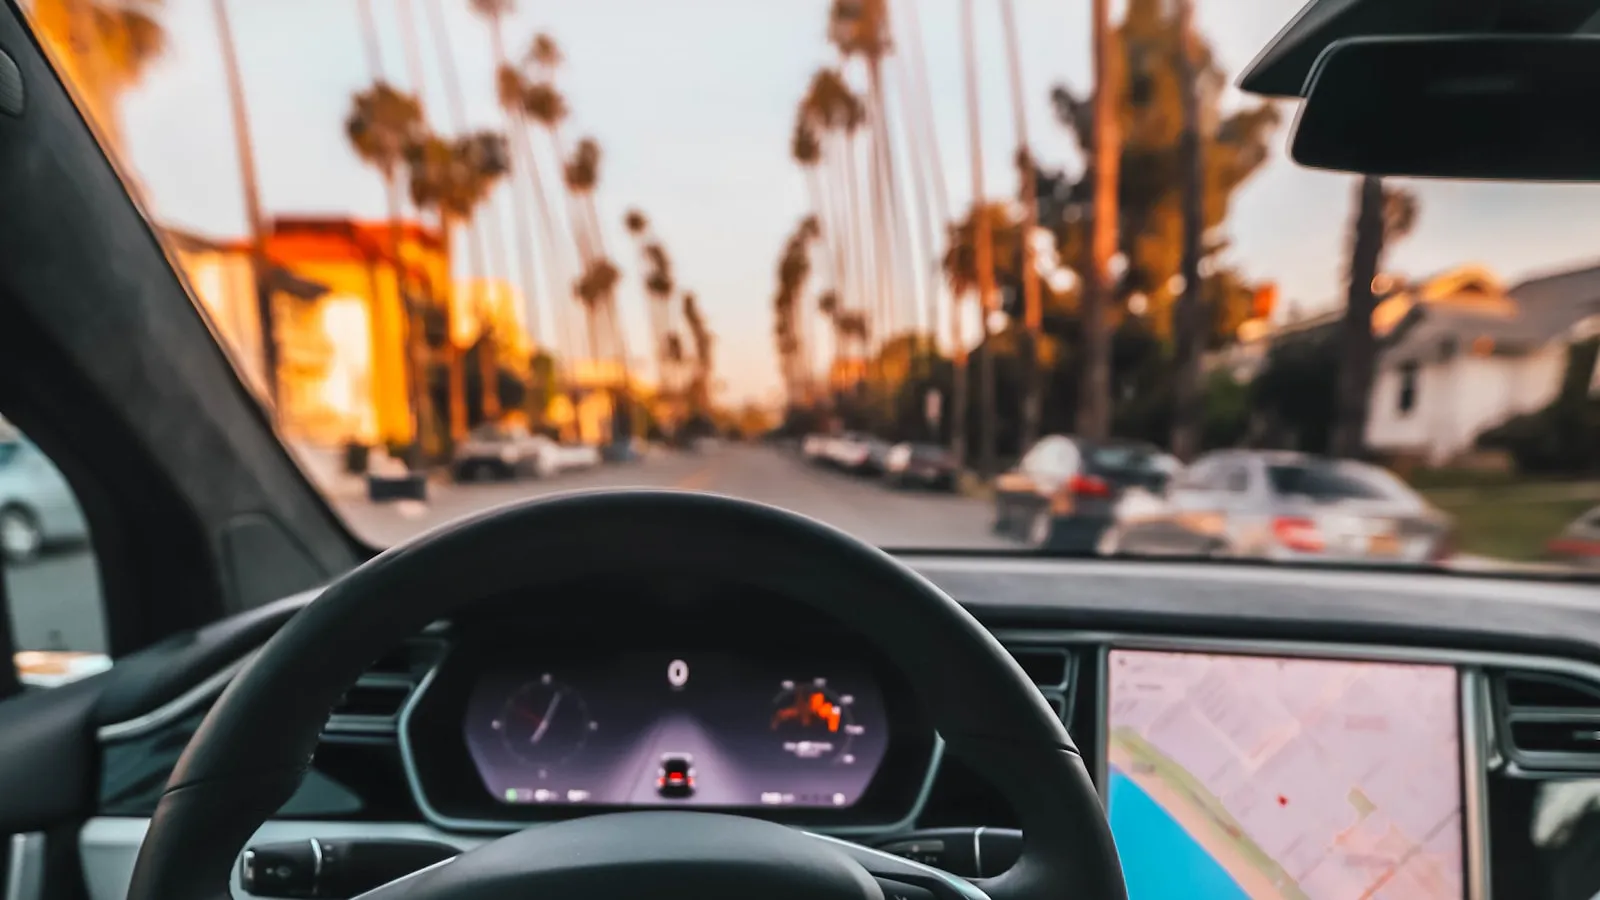
If you own a Tesla Model 3, Y, S, or X without HomeLink and you’ve started researching the official retrofit, you’ve probably encountered the part number 1114984-00-B. This is the OEM Tesla HomeLink module — the same hardware Tesla installs at the factory, sold separately for owners who didn’t get HomeLink standard or who need to replace a failed module.
This piece covers what 1114984-00-B actually is, which Teslas it fits (Cybertruck owners: it’s not for you, and we’ll explain why), real pricing across the channels people actually buy from, the DIY install procedure, and the vopt2 software step that catches a lot of first-time installers off guard.
What is Tesla part 1114984-00-B?
The 1114984-00-B is Tesla’s current-revision OEM HomeLink module. It’s a small electronic assembly that mounts in the overhead console area near the dome light, plugs into a wiring harness that’s pre-installed on most Teslas from the factory, and adds the HomeLink garage door and gate control feature to your car’s touchscreen.
Tesla sometimes refers to the module internally as “HomeLink Module V Option 2,” which is where the vopt2 configuration flag name comes from. That naming matters: after hardware install, the car needs a software config update to actually recognize the module is there. We’ll cover that in detail below.
The part number itself decodes:
- 1114984 — Tesla’s internal SKU for the HomeLink module family
- -00 — variant identifier (only one variant currently in production)
- -B — current revision (-A was an earlier revision, now superseded)
If you see the same module listed as 111498400B (no hyphens), that’s the same part. Some third-party sellers strip the hyphens for cleaner URLs.
Which Teslas does 1114984-00-B fit?
The short answer: all Tesla passenger cars currently in production EXCEPT Cybertruck.
- Model 3 — all years (2017+), including the 2024+ Highland refresh
- Model Y — all years (2020+), including the 2026+ Juniper refresh
- Model S — all years (older Model S typically already include HomeLink from the factory, but the same part works as a replacement)
- Model X — same as Model S
- Cybertruck — NOT compatible
Cybertruck is the consequential exception. Tesla didn’t include the HomeLink wiring harness in Cybertruck, so the 1114984-00-B has no place to plug in. There’s no current factory retrofit option for Cybertruck regardless of who does the install — not Tesla Service, not Tesla Mobile Service, not DIY. Cybertruck owners who want garage or gate control end up choosing between myQ subscription, aftermarket smart controllers, the physical clicker workaround, or pre-launch hardware like Proxly.
What 1114984-00-B costs (across every channel)
Three pricing tiers exist, with meaningful trade-offs:
Through Tesla Service: ~$230 installed
This is the official path. Tesla orders the module, schedules a service appointment (usually mobile service for the Bay Area; brick-and-mortar in other regions), installs it, and sets the vopt2 software flag. Warranty applies. The $230 figure varies $20-$50 by region and service tier.
New OEM from third-party sellers: $169-$189
The part is widely available on Amazon, eBay, evolutionparts.net, and similar channels as new OEM stock. Includes the module, the mounting bracket, and the screw. Identical hardware to what Tesla Service installs — these aren’t aftermarket clones, they’re genuine OEM units sourced through Tesla parts distribution.
The catch: Tesla Service typically won’t install a unit you bought elsewhere, especially if the box has been opened. Some Service Centers will set the vopt2 flag for an $80-$120 “mobile service” fee if you’ve already done the hardware install yourself, but the policy is inconsistent across regions.
Used: $100-$150
The Tesla Motors Club forum sales section regularly lists used modules — usually from owners who pulled the module before selling a car, or upgraded to a different vehicle. Pricing trends $100-$150 depending on revision and condition. Buy with caution: there’s no warranty path, and you’re trusting the seller that the module wasn’t pulled from a salvaged or accident vehicle. Calimotive and similar auto recyclers also sell pull-from-recycled units at similar prices.
How to install 1114984-00-B yourself (pre-refresh models)
DIY install is straightforward on Model 3 (pre-2024) and Model Y (pre-2026). About 20 minutes start to finish.
Tools you need:
- 10mm driver or socket
- Flat blade screwdriver
- A second person is helpful (one to hold the trim panel, one to plug in the module)
The procedure:
-
Turn the car off. Park, foot off the brake, walk away for 30 seconds so the car fully sleeps. This prevents any electrical short during install.
-
Locate the overhead console area near the dome light. That’s where the HomeLink module installs. On Model 3 and Y, this is the panel that wraps around the dome light and the front of the cabin.
-
Carefully pry down the overhead console panel. Use the flat blade screwdriver. The panel is held by clips — work around the edges, applying gentle outward pressure. The panel should release without breaking.
-
Find the pre-installed wiring harness. Most Teslas from the factory have the HomeLink harness already routed and waiting, even on cars that didn’t include the module. The harness is a small black connector with 4-6 pins.
-
Plug the 1114984-00-B module into the harness. The connector is keyed — only fits one way. Push firmly until you hear/feel the click.
-
Secure the module with the included bracket and 10mm screw. The bracket clips into the existing mounting points.
-
Reattach the overhead panel. Press it firmly back into place around the clips.
-
Set the vopt2 software flag. This is the step most DIY install guides skip. Without vopt2, the module is wired but the touchscreen won’t recognize it. See the next section.
The vopt2 software step (don’t skip this)
After the hardware install is done, the car needs to be told the HomeLink module is now present. Tesla calls this vopt2 or “V Option 2” — a flag in the vehicle’s configuration that enables the HomeLink UI on the touchscreen.
Without vopt2 set:
- The module is physically installed and wired
- The Settings → Controls menu won’t show a HomeLink option
- The touchscreen won’t display HomeLink controls during arrival
- It looks identical to “the install didn’t work”
How to set vopt2:
If Tesla Service is doing the install: they handle vopt2 automatically as part of their procedure. No action required from you.
If you’re DIY-installing: you need one of:
- Tesla Toolbox 3.0 — Tesla’s diagnostic and configuration software. Requires a subscription ($150-$200/year as of 2026) and a compatible J2534 interface. The official way to set vopt2 yourself.
- Service Mode access — Tesla added Service Mode to consumer-facing software in 2022, but the vopt2 flag is NOT exposed in the public Service Mode menus. So this path doesn’t currently work for vopt2 specifically.
- A friendly Tesla Service Center — some Service Centers will set vopt2 for $80-$120 as a “software service” appointment even if you bought the module elsewhere. Worth calling ahead and asking; policy varies by region.
This is the single biggest gotcha with 1114984-00-B DIY installs. People install the hardware correctly, get no HomeLink option on the touchscreen, conclude the module is dead, and return it — when the actual issue is vopt2 was never set.
Highland Model 3 and Juniper Model Y (the harder install)
The refreshed Tesla lineup brought a meaningful install change. On 2024+ Highland Model 3 and 2026+ Juniper Model Y, the HomeLink wiring routes through the front-bumper area rather than purely overhead, and the module install includes accessing the harness from below.
Practical implications:
- DIY install time goes from ~20 minutes to 1-2 hours
- You need to remove or partially remove front-bumper trim pieces to access the harness
- Tesla Service install jumps from ~$230 to ~$280-$320 because of the labor difference
- Several Tesla Motors Club threads document DIY attempts on Highland that ended in damaged trim clips — the bumper area is less forgiving than the overhead area
If you have a Highland Model 3 or Juniper Model Y, the math usually favors Tesla Service install. The DIY savings ($90-$110) don’t offset the time cost and the risk of cosmetic damage to a $50K+ vehicle.
After 1114984-00-B is installed: pairing to your opener
Once the module is installed and vopt2 is set, the touchscreen will show HomeLink controls under Settings → Controls → HomeLink. From there, you pair the module to your specific garage door opener or driveway gate using the standard HomeLink LEARN procedure.
For garage doors, the pairing usually takes 2-5 minutes. For driveway gates — especially LiftMaster Security+ 2.0 or Chamberlain commercial gate operators — the procedure has more gotchas. We covered the LiftMaster pairing flow in detail in How to Pair Tesla HomeLink to a LiftMaster Gate Operator, including the three places it usually goes wrong.
If your gate uses Security+ 3.0 — the newest LiftMaster/Chamberlain rolling-code protocol — HomeLink may not be able to pair at all. That’s not a 1114984-00-B problem; HomeLink as a category doesn’t yet speak Security+ 3.0. We wrote up the protocol-mismatch issue in Why HomeLink Stops Working with Your Driveway Gate.
When 1114984-00-B isn’t the right answer
The retrofit module is the right answer for most Tesla owners who want HomeLink and have a HomeLink-compatible opener. But it’s not the right answer for everyone.
Cybertruck owners: The part doesn’t fit. No factory retrofit exists. See our Tesla HomeLink alternatives breakdown for the seven real options available to Cybertruck owners.
Owners on Security+ 3.0 garage doors or gates: HomeLink doesn’t speak Security+ 3.0 yet, so installing the module solves nothing for you. Look at aftermarket smart controllers (Meross, Tailwind, RATGDO) or a hands-free system that doesn’t depend on RF protocol matching.
Owners with multi-opener setups (gate + garage + guesthouse): HomeLink has a hard 3-channel limit. If you’ve got more than three openers — common on rural properties with separate gate, garage, and ADU openers — you’ll run out of buttons.
Owners who want hands-free arrival but don’t have Tesla Garage Auto-Open or Rivian arrival assist: HomeLink alone doesn’t auto-open. You’d need Garage Auto-Open (Tesla M3/Y with HomeLink and the feature subscription) for the hands-free experience.
Where Proxly fits
We’re building Proxly for the cases where HomeLink retrofit doesn’t make sense — Cybertruck owners, Security+ 3.0 households, multi-opener properties, and anyone who wants hands-free arrival without the Tesla-specific Garage Auto-Open path.
Proxly is a small windshield Tag plus a Hub wired to your existing opener. The Tag detects when your car is arriving or leaving and talks locally to the Hub, so your gate or garage opens automatically — no clicker, no phone tap, no HomeLink, and no subscription. Works on any car (including Cybertruck), with any opener brand, regardless of rolling code generation.
We’re pre-launch — Beta-20 runs through summer 2026, with Kickstarter after. If 1114984-00-B isn’t an option for your Tesla or your opener, getproxly.com is where to follow the build.
Bottom line
For most Tesla Model 3, Y, S, and X owners who want HomeLink, the 1114984-00-B is the right answer. The pricing is reasonable ($169-$230 depending on channel), the install is doable for most owners on pre-refresh cars, and the part itself is genuinely the same hardware Tesla puts in factory-equipped vehicles.
The two install gotchas to watch:
-
Highland Model 3 / Juniper Model Y require front-bumper-area work. DIY install jumps from a 20-minute job to a 1-2 hour job. If you have a refresh-era car, factor that in.
-
The vopt2 software step trips up most DIY installs. Hardware install alone doesn’t enable HomeLink. The car needs the vopt2 flag set via Tesla Toolbox or a Service Mode workaround.
If you’re a Cybertruck owner, this part isn’t for you — and that’s not your fault, it’s a structural gap in Cybertruck’s harness design. The alternatives covered in HomeLink Alternative for Tesla are the path forward.
Frequently asked questions
- 1114984-00-B is the Tesla OEM HomeLink module — the same hardware Tesla installs at the factory. Tesla sells it as a retrofit kit for owners whose vehicle shipped without HomeLink (most Model 3 since 2019, Model Y, and some Highland/Juniper refresh trims) or as a replacement for a failed factory module. The part is sometimes labeled 'HomeLink Module V Option 2' in Tesla service documentation, which refers to the software configuration mode it requires after install.
- Model 3 (all years including 2024+ Highland refresh), Model Y (all years including 2026+ Juniper refresh), Model S, and Model X. The same part number works across these models — Tesla unified the HomeLink module hardware across the lineup. The part does NOT fit Cybertruck. Cybertruck shipped without a HomeLink wiring harness, so there's no install path even with the part in hand. Cybertruck owners need a different solution (myQ, Meross, Tailwind, or a third-party hands-free system).
- Three pricing tiers exist. New OEM from third-party sellers (Amazon, eBay, evolutionparts.net): roughly $169-$189 for the module, bracket, and screw. Through Tesla Service: approximately $230 including labor for the install. Used modules from Tesla Motors Club forum sales or Calimotive: $100-$150 depending on condition. Note: Tesla Service won't honor warranty on a module installed elsewhere, and won't typically install a unit whose box has been opened.
- Yes on pre-refresh Model 3 and pre-Juniper Model Y. The install takes about 20 minutes with a 10mm driver or socket and a flat blade screwdriver. The module sits in the overhead console area near the dome light, and the wiring harness is already present in most cars from the factory — you just plug in the module and secure it. On Highland Model 3 (2024+) and Juniper Model Y (2026+), the install requires front-bumper-area routing work, which is significantly more involved. Most DIY-ers on the refresh cars opt to pay Tesla Service the extra $60 to handle the install. After the hardware step, you still need vopt2 set in software for the touchscreen to recognize the module.
- vopt2 (sometimes written as 'V Option 2') is a software configuration flag in Tesla's vehicle config that enables the HomeLink module after hardware install. Without vopt2 set, the module is physically wired but the touchscreen won't show HomeLink controls — the car doesn't 'know' the module is installed. Tesla Service sets vopt2 automatically when they do the install. DIY installers need Service Mode access (limited functionality) or Tesla Toolbox 3.0 to flip the flag. This is the most common reason DIY installs appear to 'fail' — the module is in, the wiring is correct, but the software isn't told.
- Usually not, especially if the box has been opened. Tesla Service has a documented policy of not installing third-party-sourced modules or modules whose factory packaging shows signs of opening. The stated reason is they can't warranty the part. The practical workaround owners report on Tesla Motors Club: bring the unopened third-party box to Service and ask. Some Service Centers accept the request; many will quote you a 'mobile service' charge of $80-$120 just for the vopt2 software step alone, even if you've already installed the hardware. The cleanest path is either full DIY (hardware + Toolbox 3.0 access) or full Tesla Service (their part, their install).
- Yes on both. Tesla kept the same part number for the refreshed Highland Model 3 (2024+) and Juniper Model Y (2026+). What changed is the install procedure — the refreshed cars require front-bumper-area routing that pre-refresh models don't. Hardware compatibility is unchanged. If you have a Highland or Juniper Tesla, expect either Tesla Service install at full price or a meaningfully harder DIY than the pre-refresh procedure. Some owners on Tesla Motors Club report 1-2 hour DIY install times on Highland vs 20-minute installs on pre-Highland.
- The -A and -B suffixes are Tesla's part revision markers. 1114984-00-B is the current revision — that's what Tesla ships from Service and what third-party sellers stock new. 1114984-00-A was an earlier revision, functionally equivalent for HomeLink purposes but superseded. If you're buying used, either revision works the same on the install side. If you're buying new, you'll almost always receive -B; treat -A as a sign of an older or new-old-stock unit.
What is Tesla part 1114984-00-B?
Which Teslas does 1114984-00-B fit?
How much does Tesla 1114984-00-B cost?
Can I install Tesla 1114984-00-B myself?
What is vopt2 and why does it matter for 1114984-00-B?
Will Tesla Service install a 1114984-00-B I bought from Amazon or eBay?
Will 1114984-00-B work on Highland Model 3 or Juniper Model Y?
What's the difference between 1114984-00-A and 1114984-00-B?
Keep reading

Tesla HomeLink vs Rivian HomeLink: Two Different Philosophies
Tesla and Rivian both ship HomeLink, but they implement it differently. Here is what changes in practice — and where both fall short at the driveway gate.
HomeLink Alternative for Tesla: Free, $30, $150, and $350 Options Ranked
Tesla owners frustrated with the $350 HomeLink module have seven real alternatives — from a free physical clicker to a $30 smart controller to $45/year myQ — compared honestly with the trade-offs.
Tesla Sentry Mode and Your Driveway Gate
Sentry Mode activates every time your Tesla parks. Here is what that means for driveway gate hardware, how to avoid false alerts, and how to set a home exclusion zone.